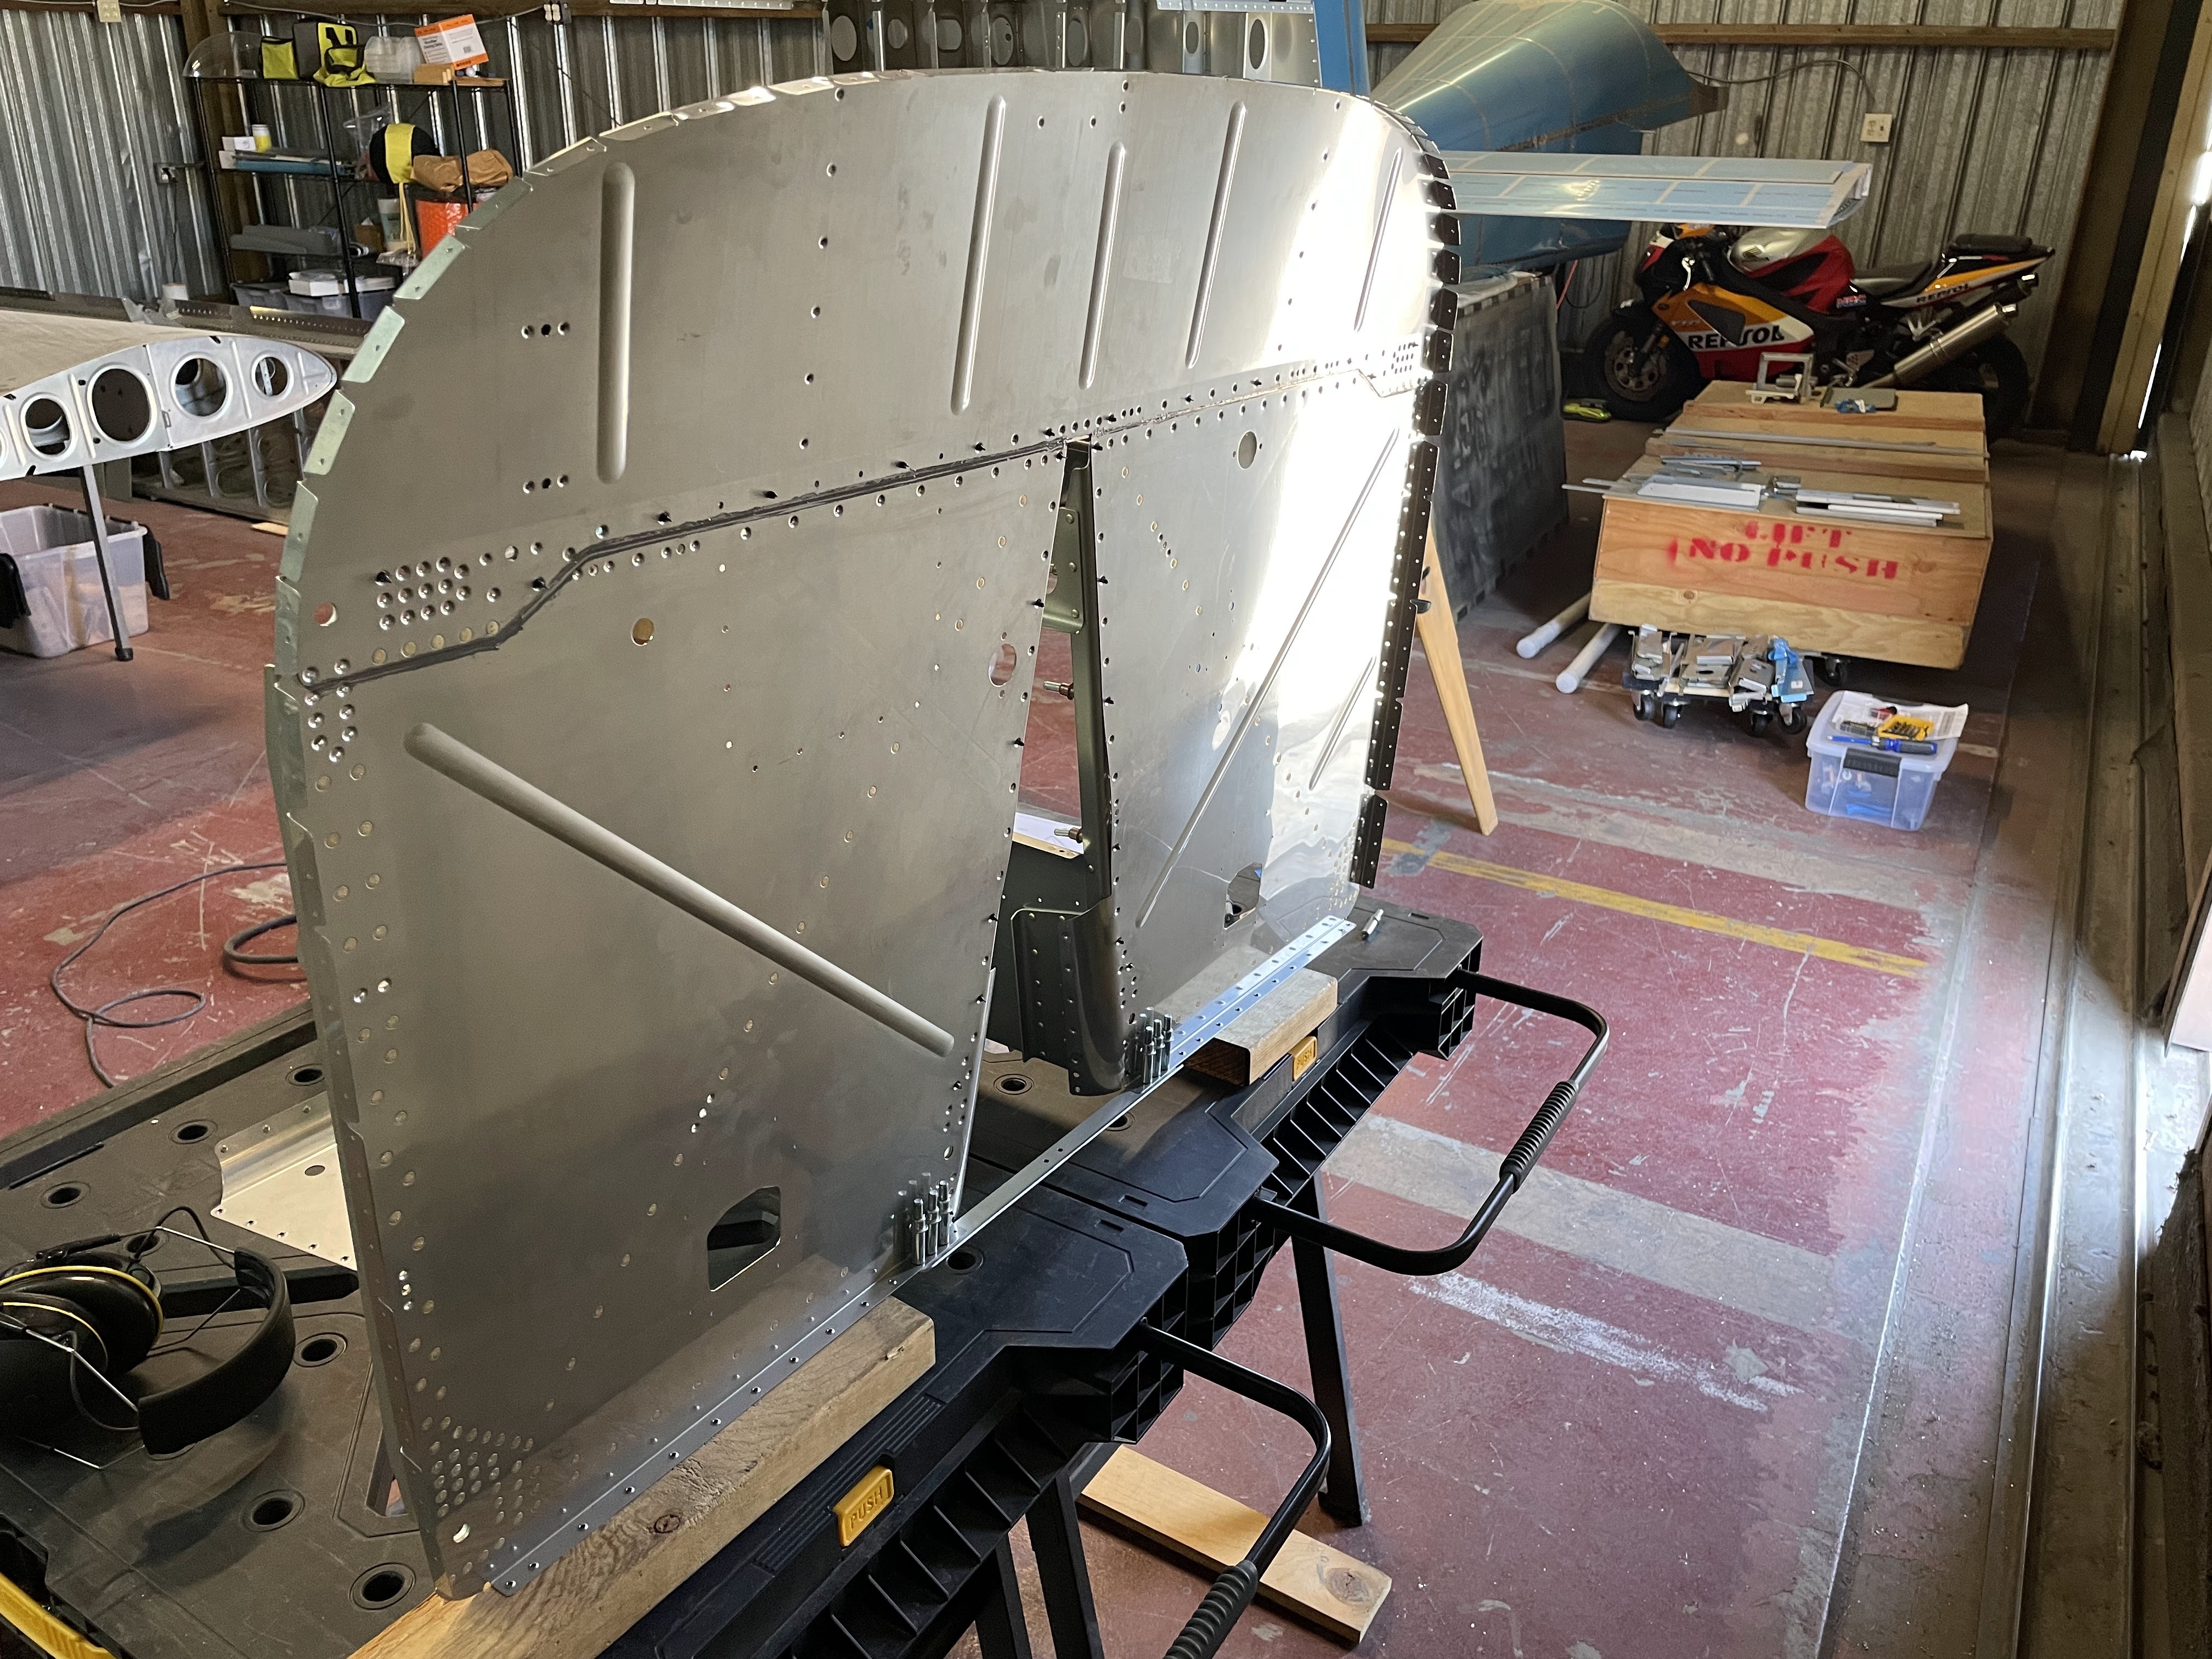
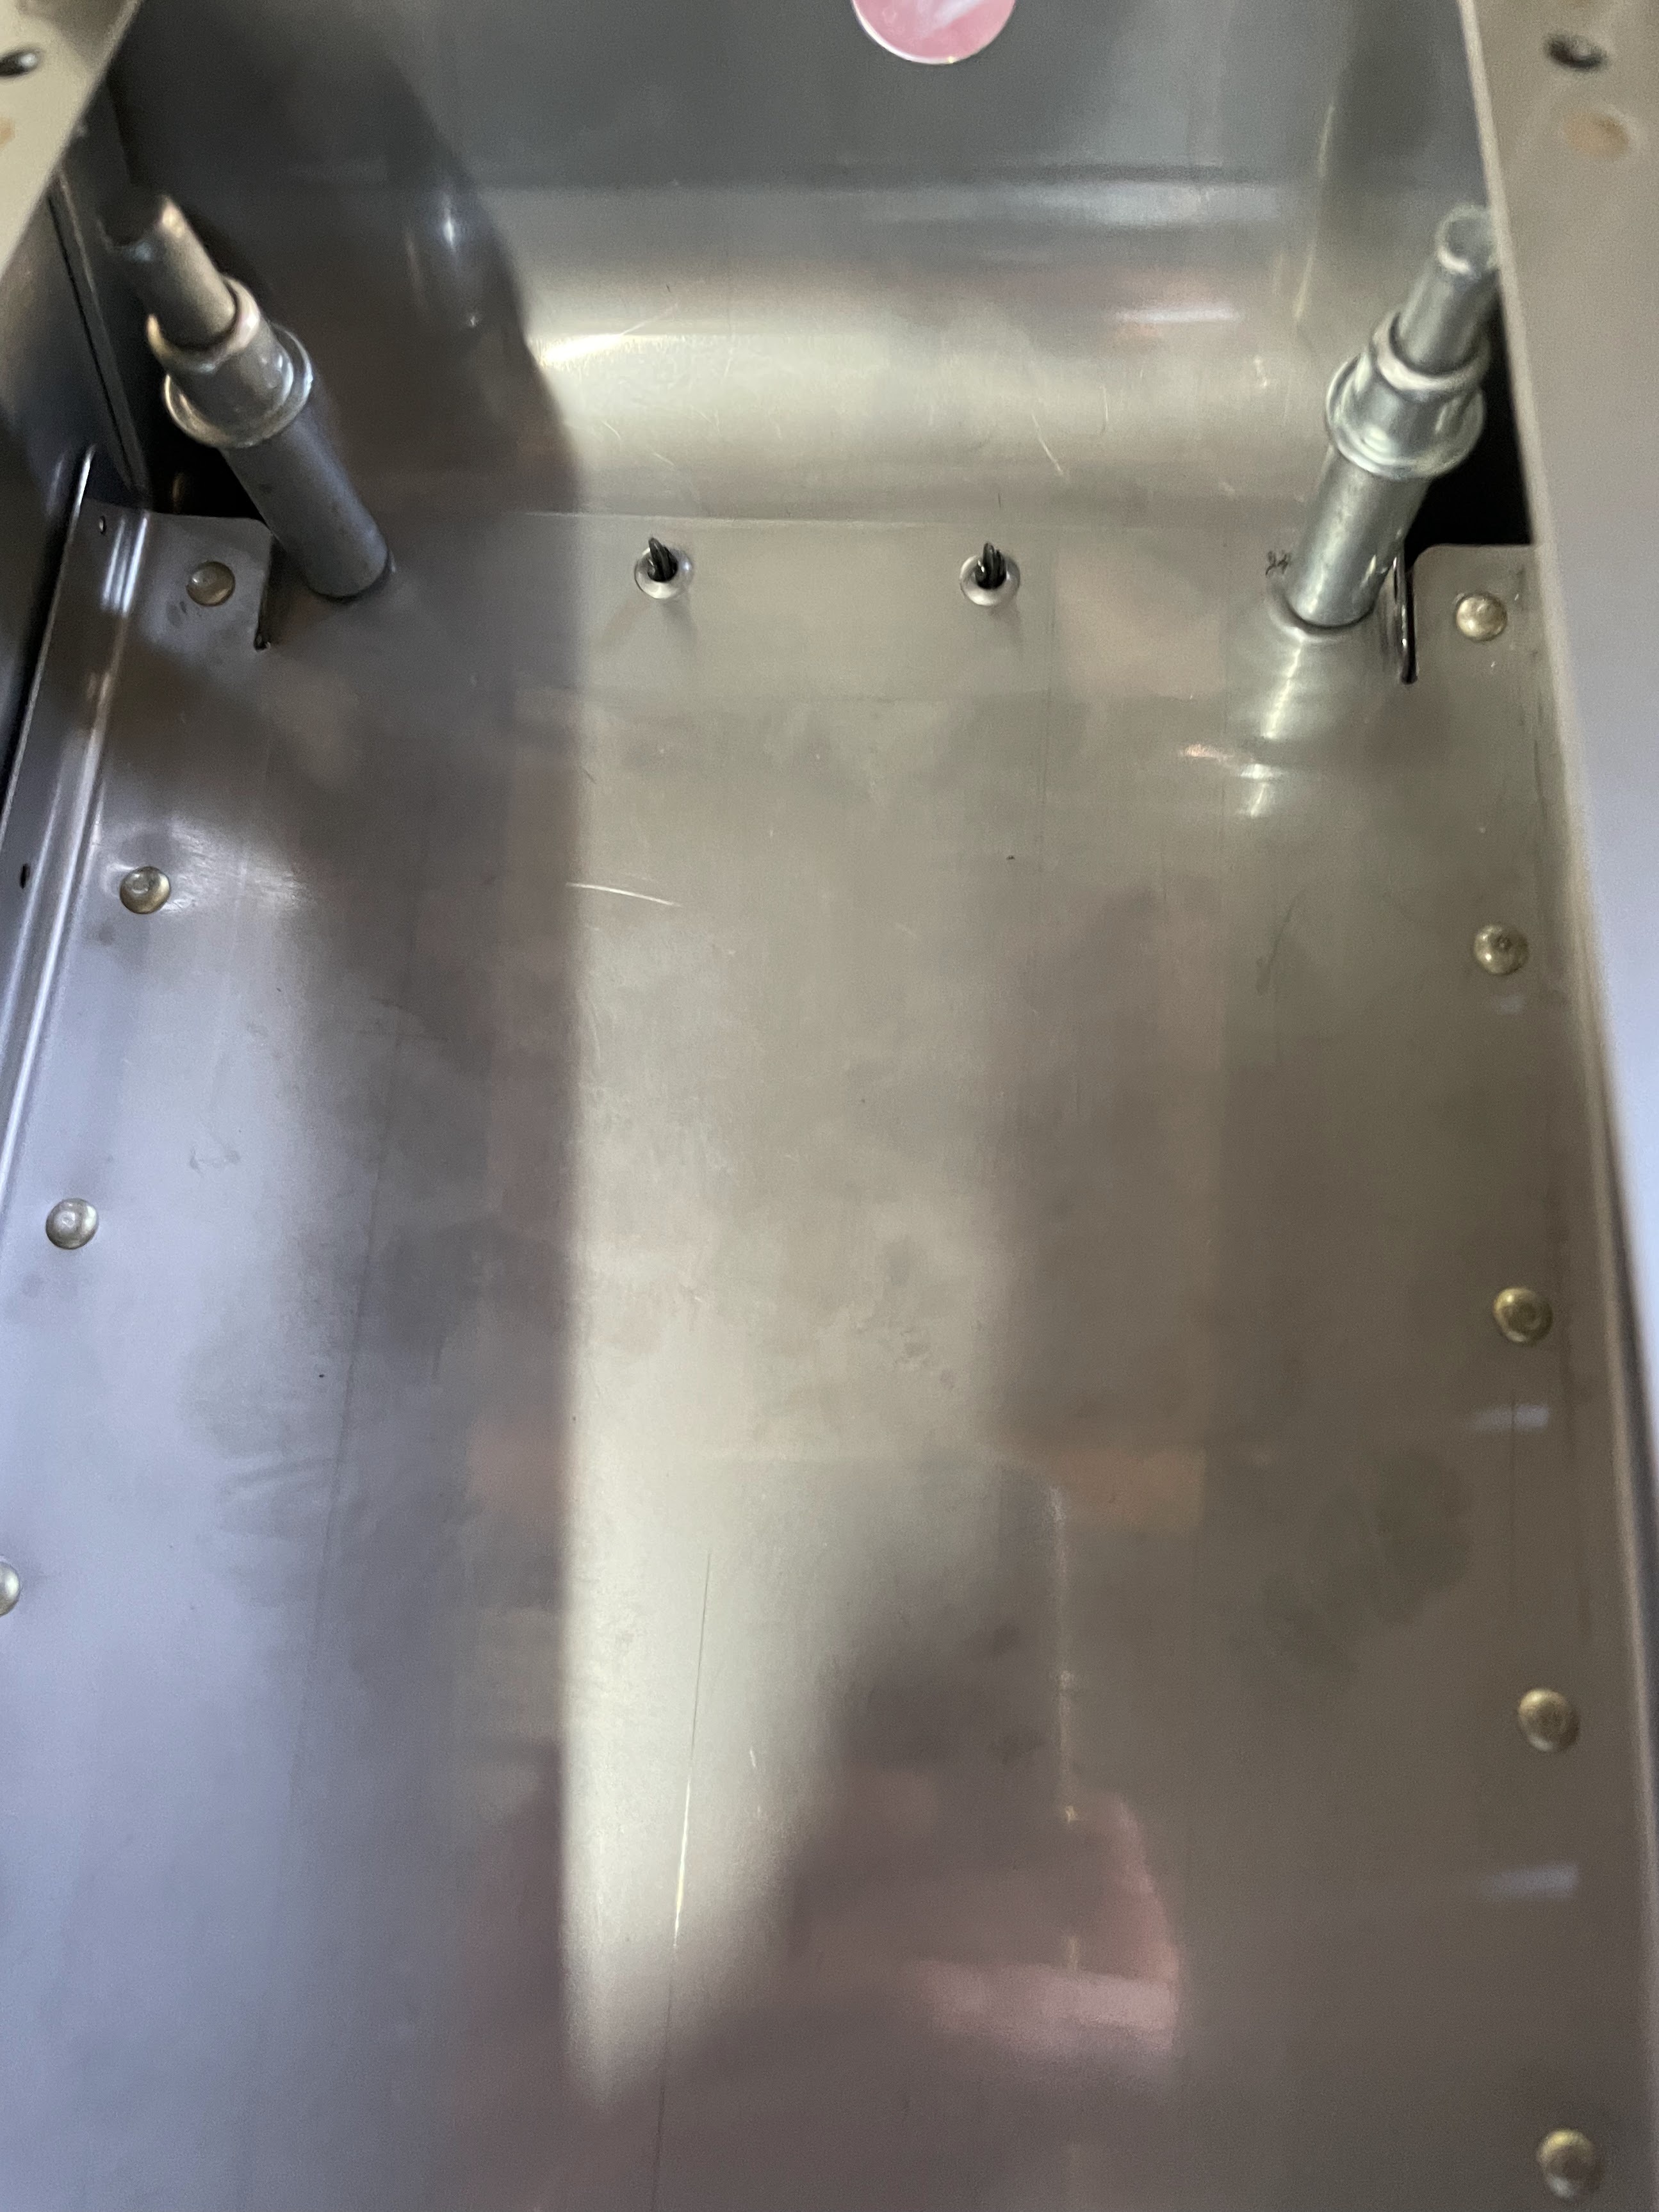
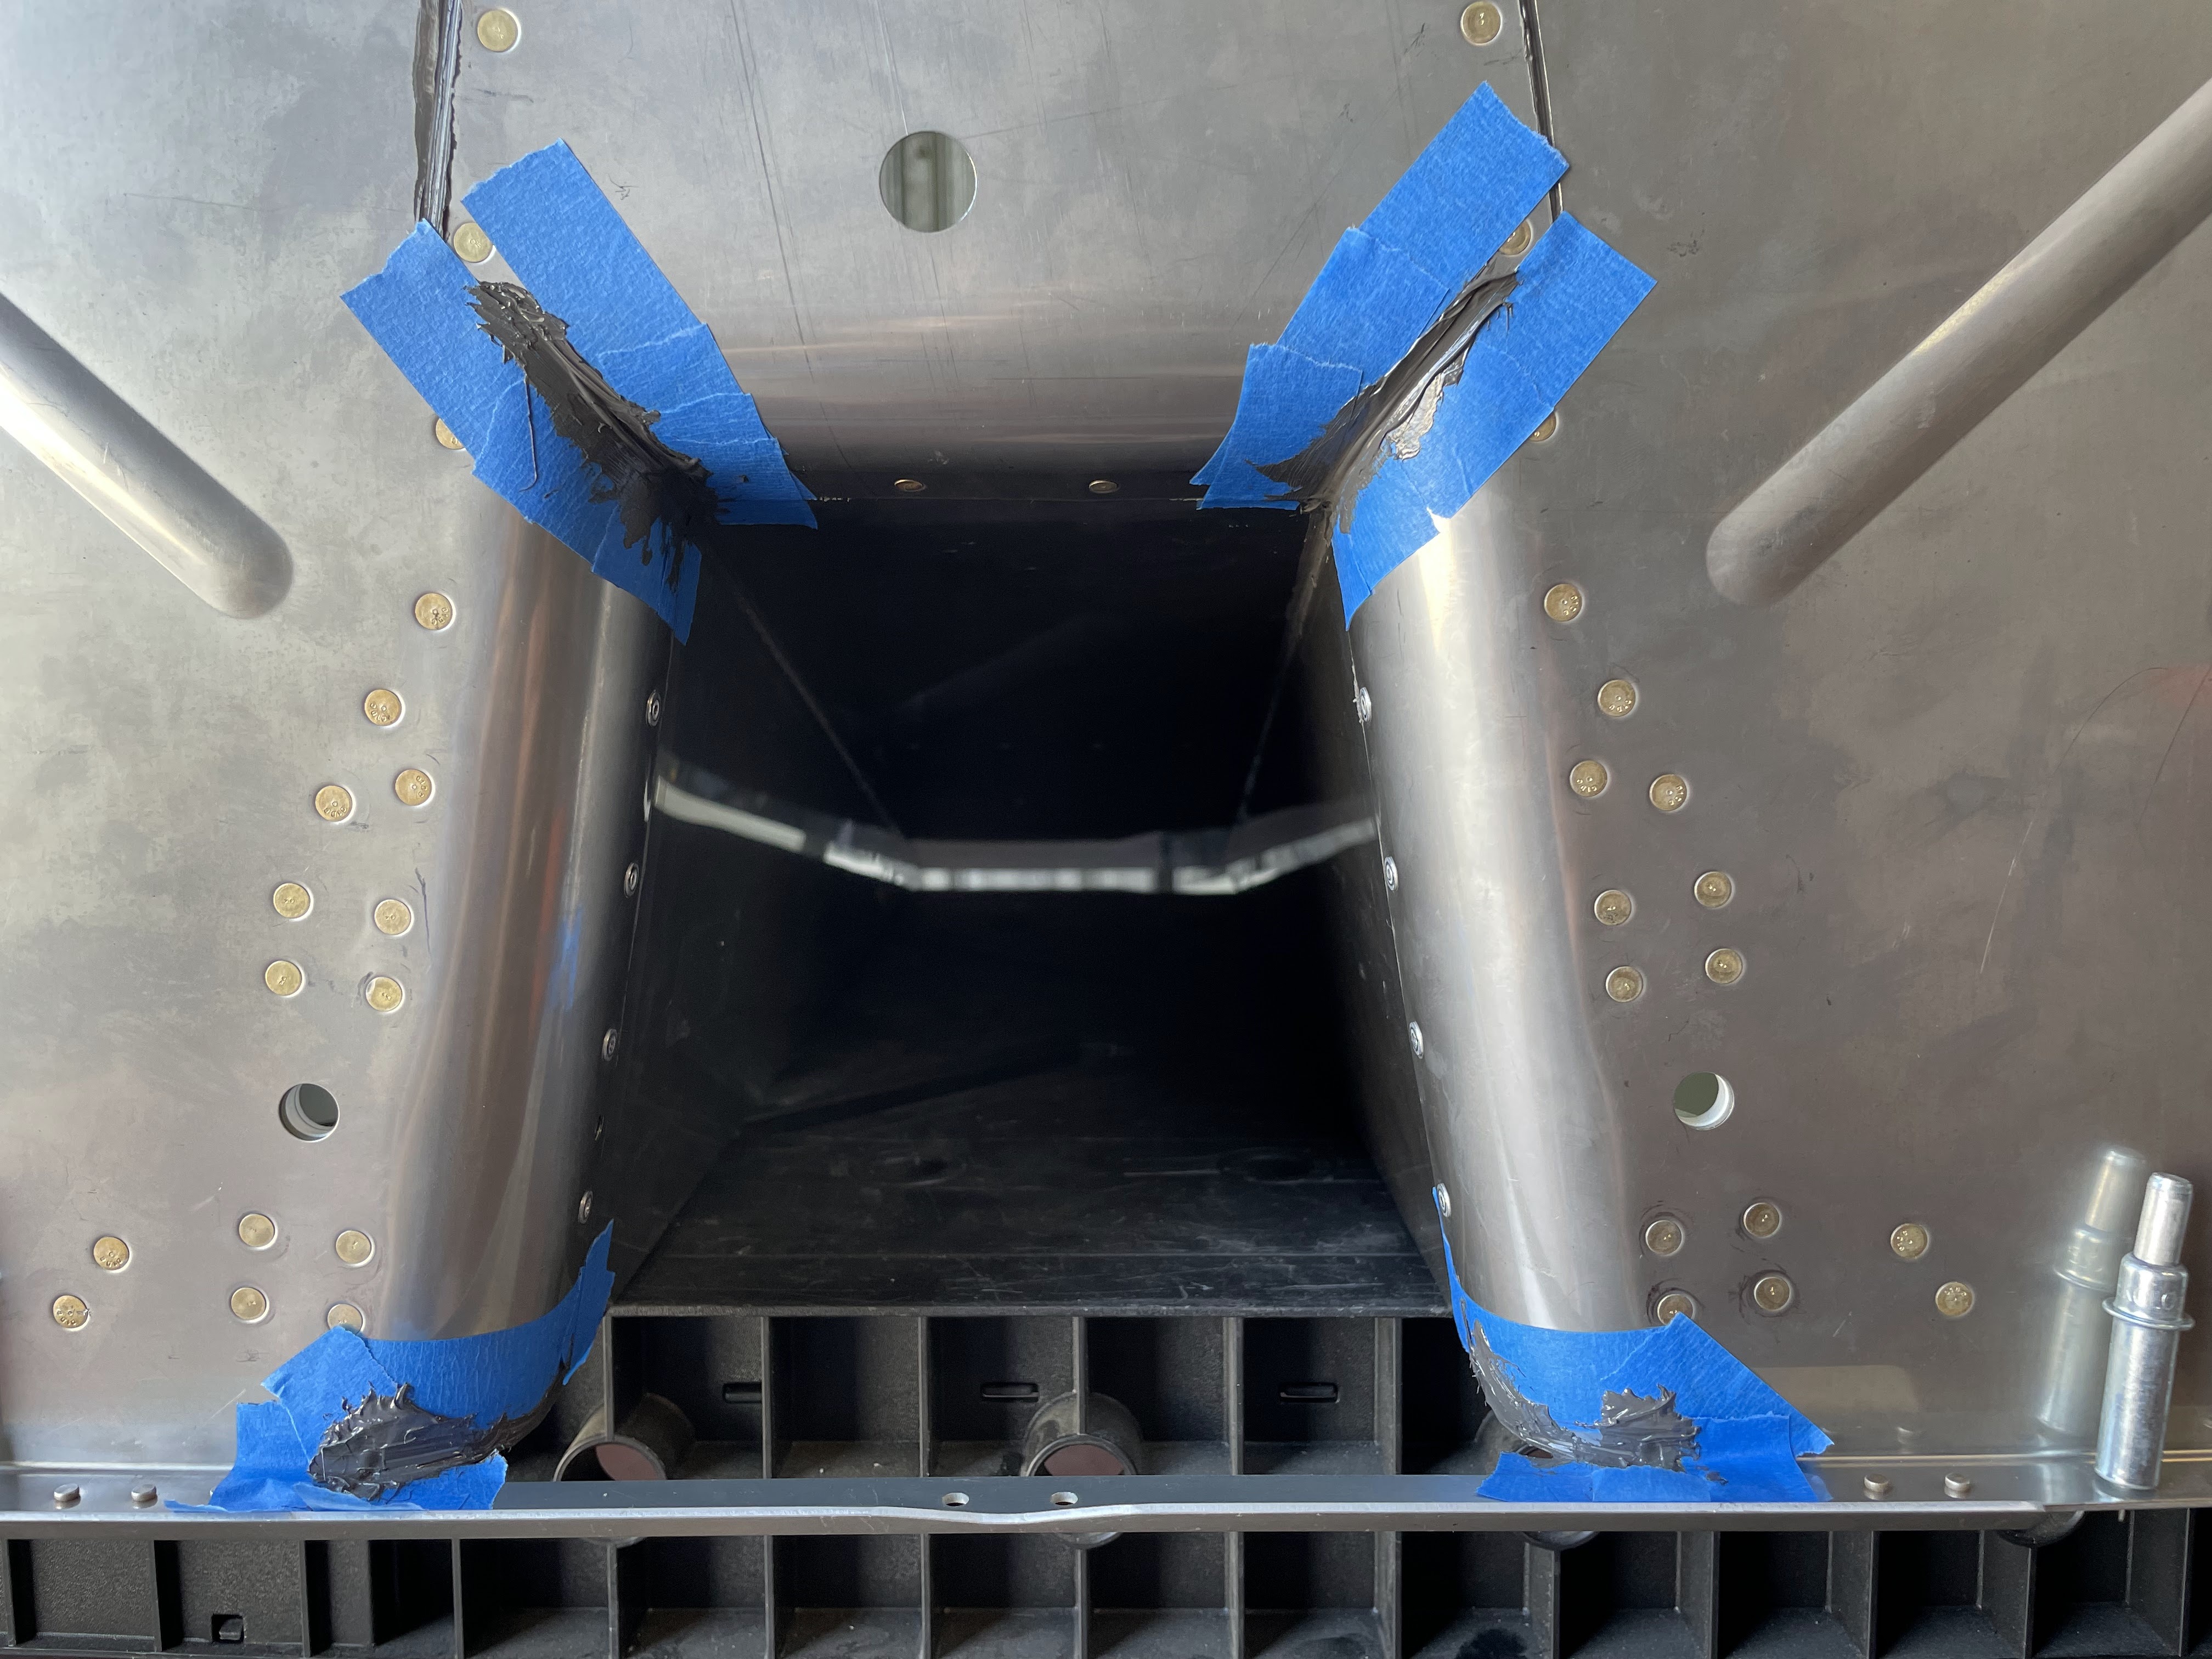
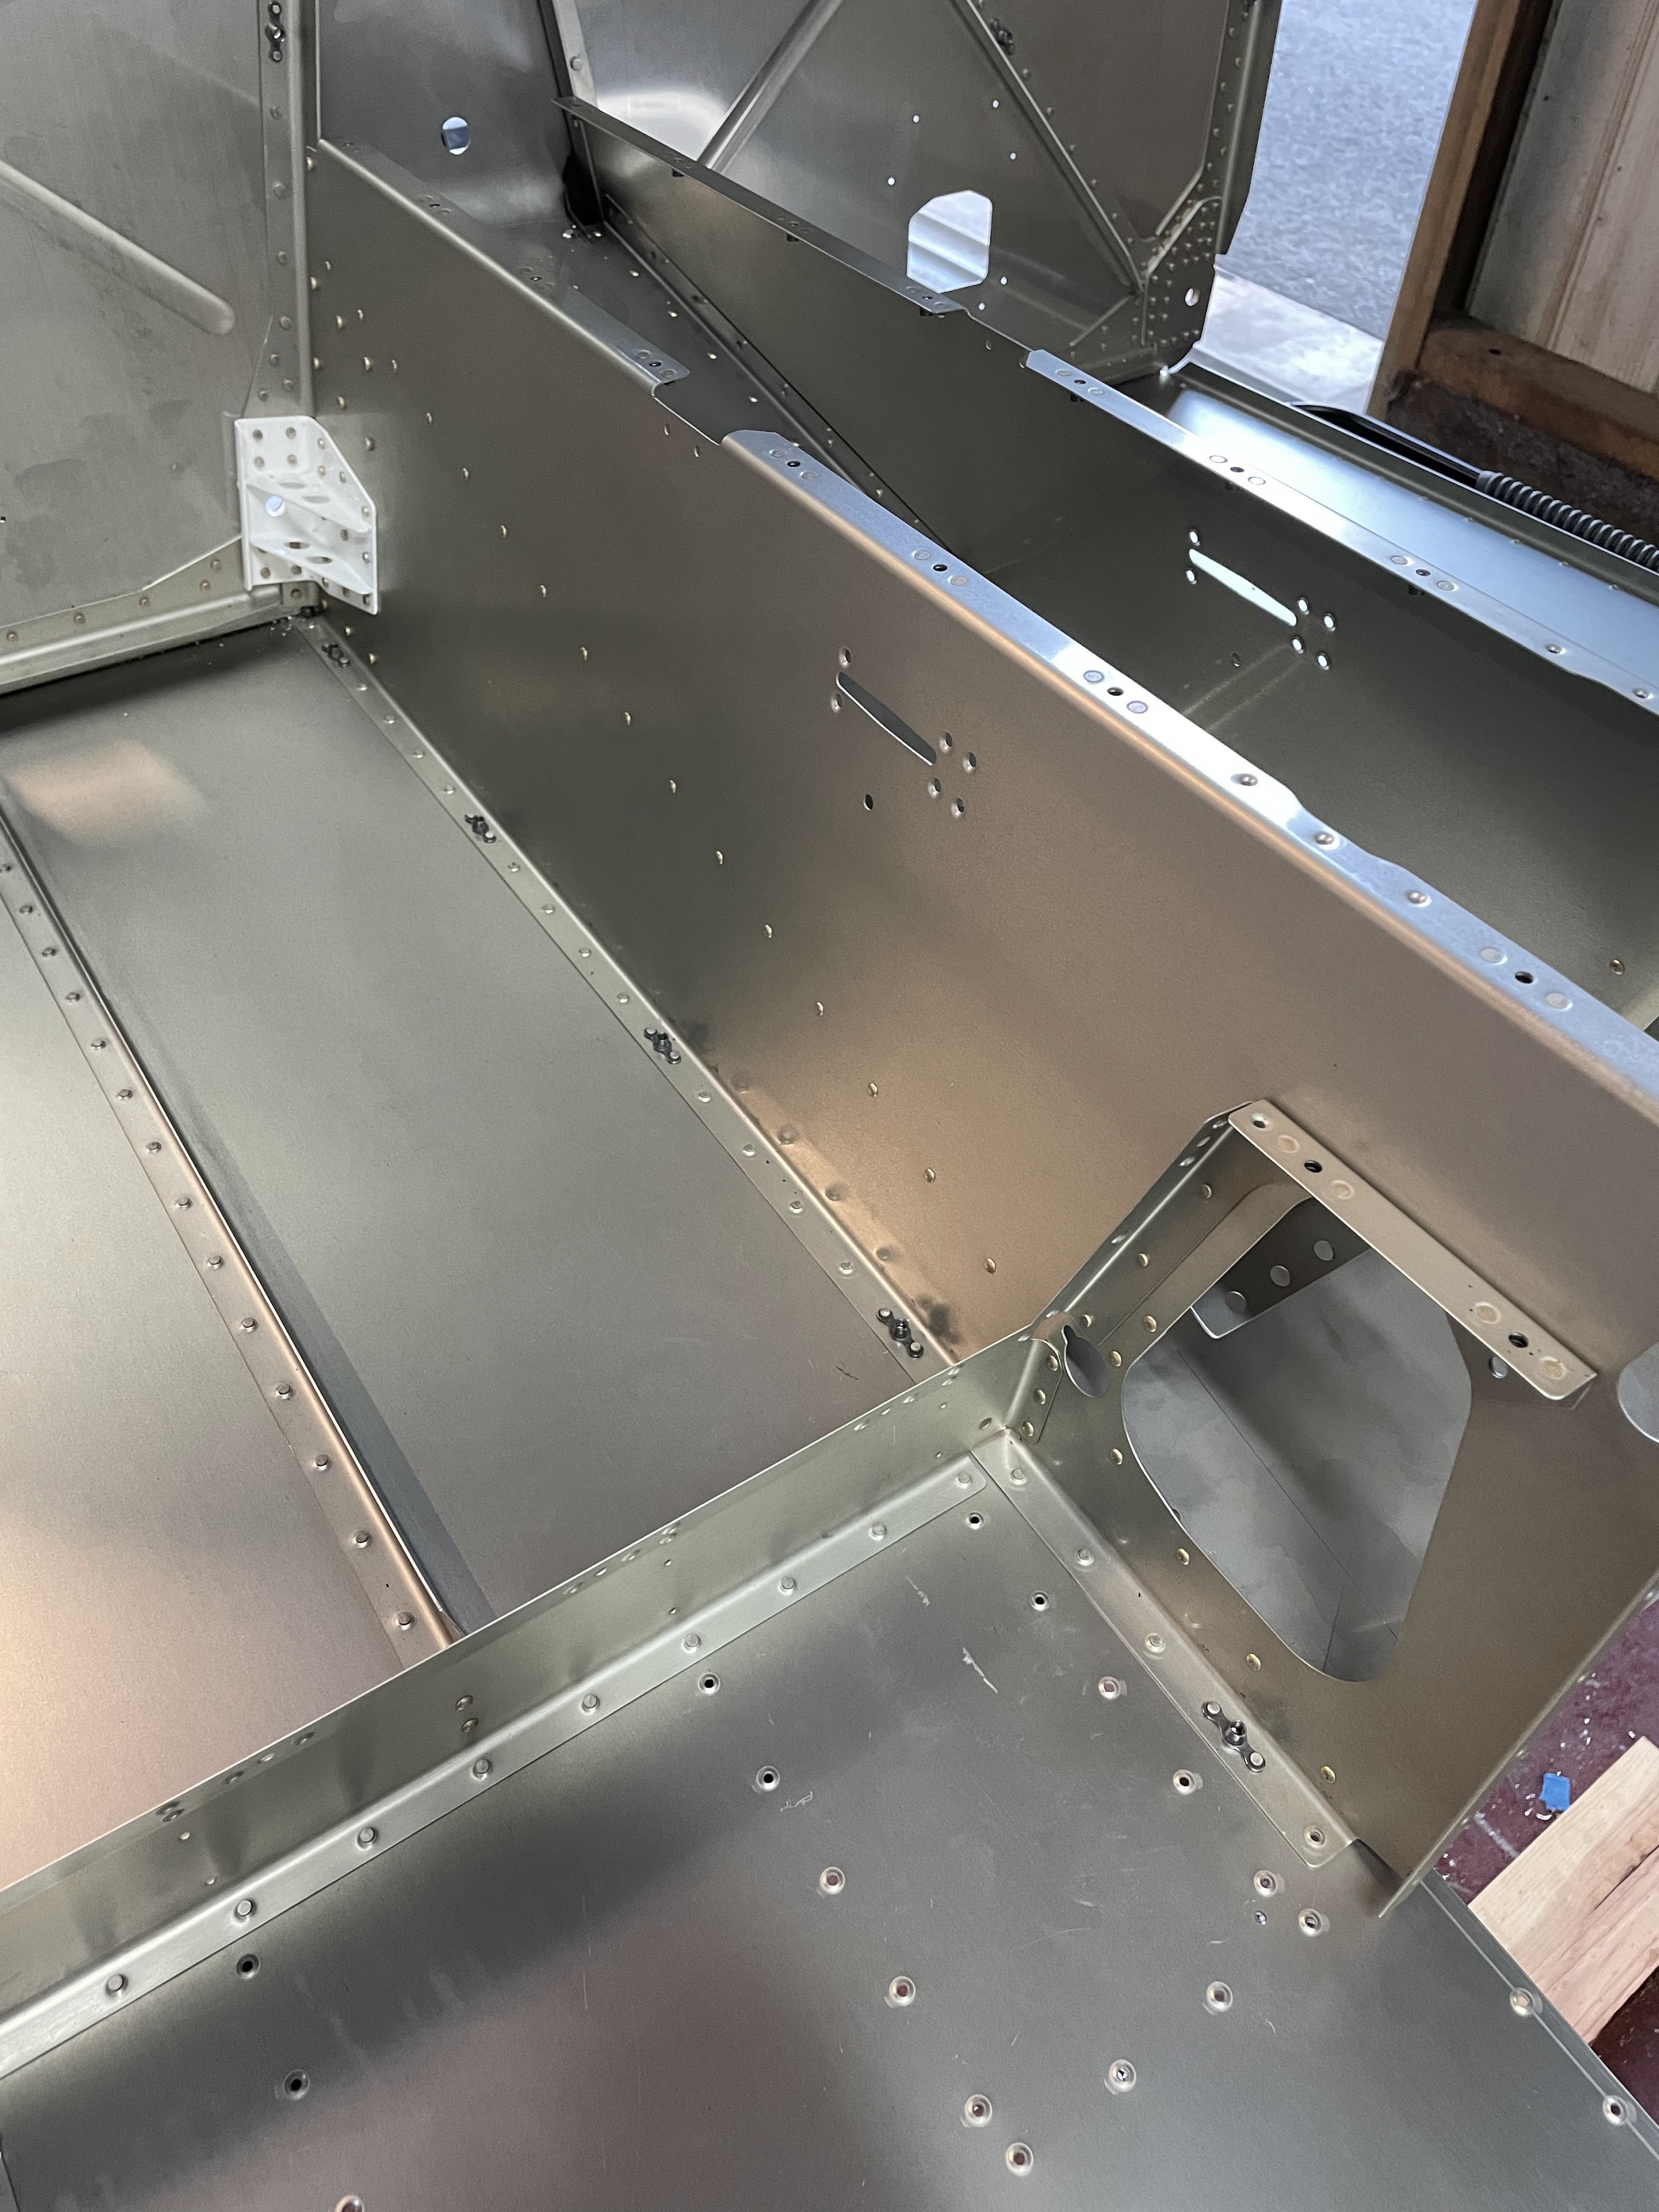
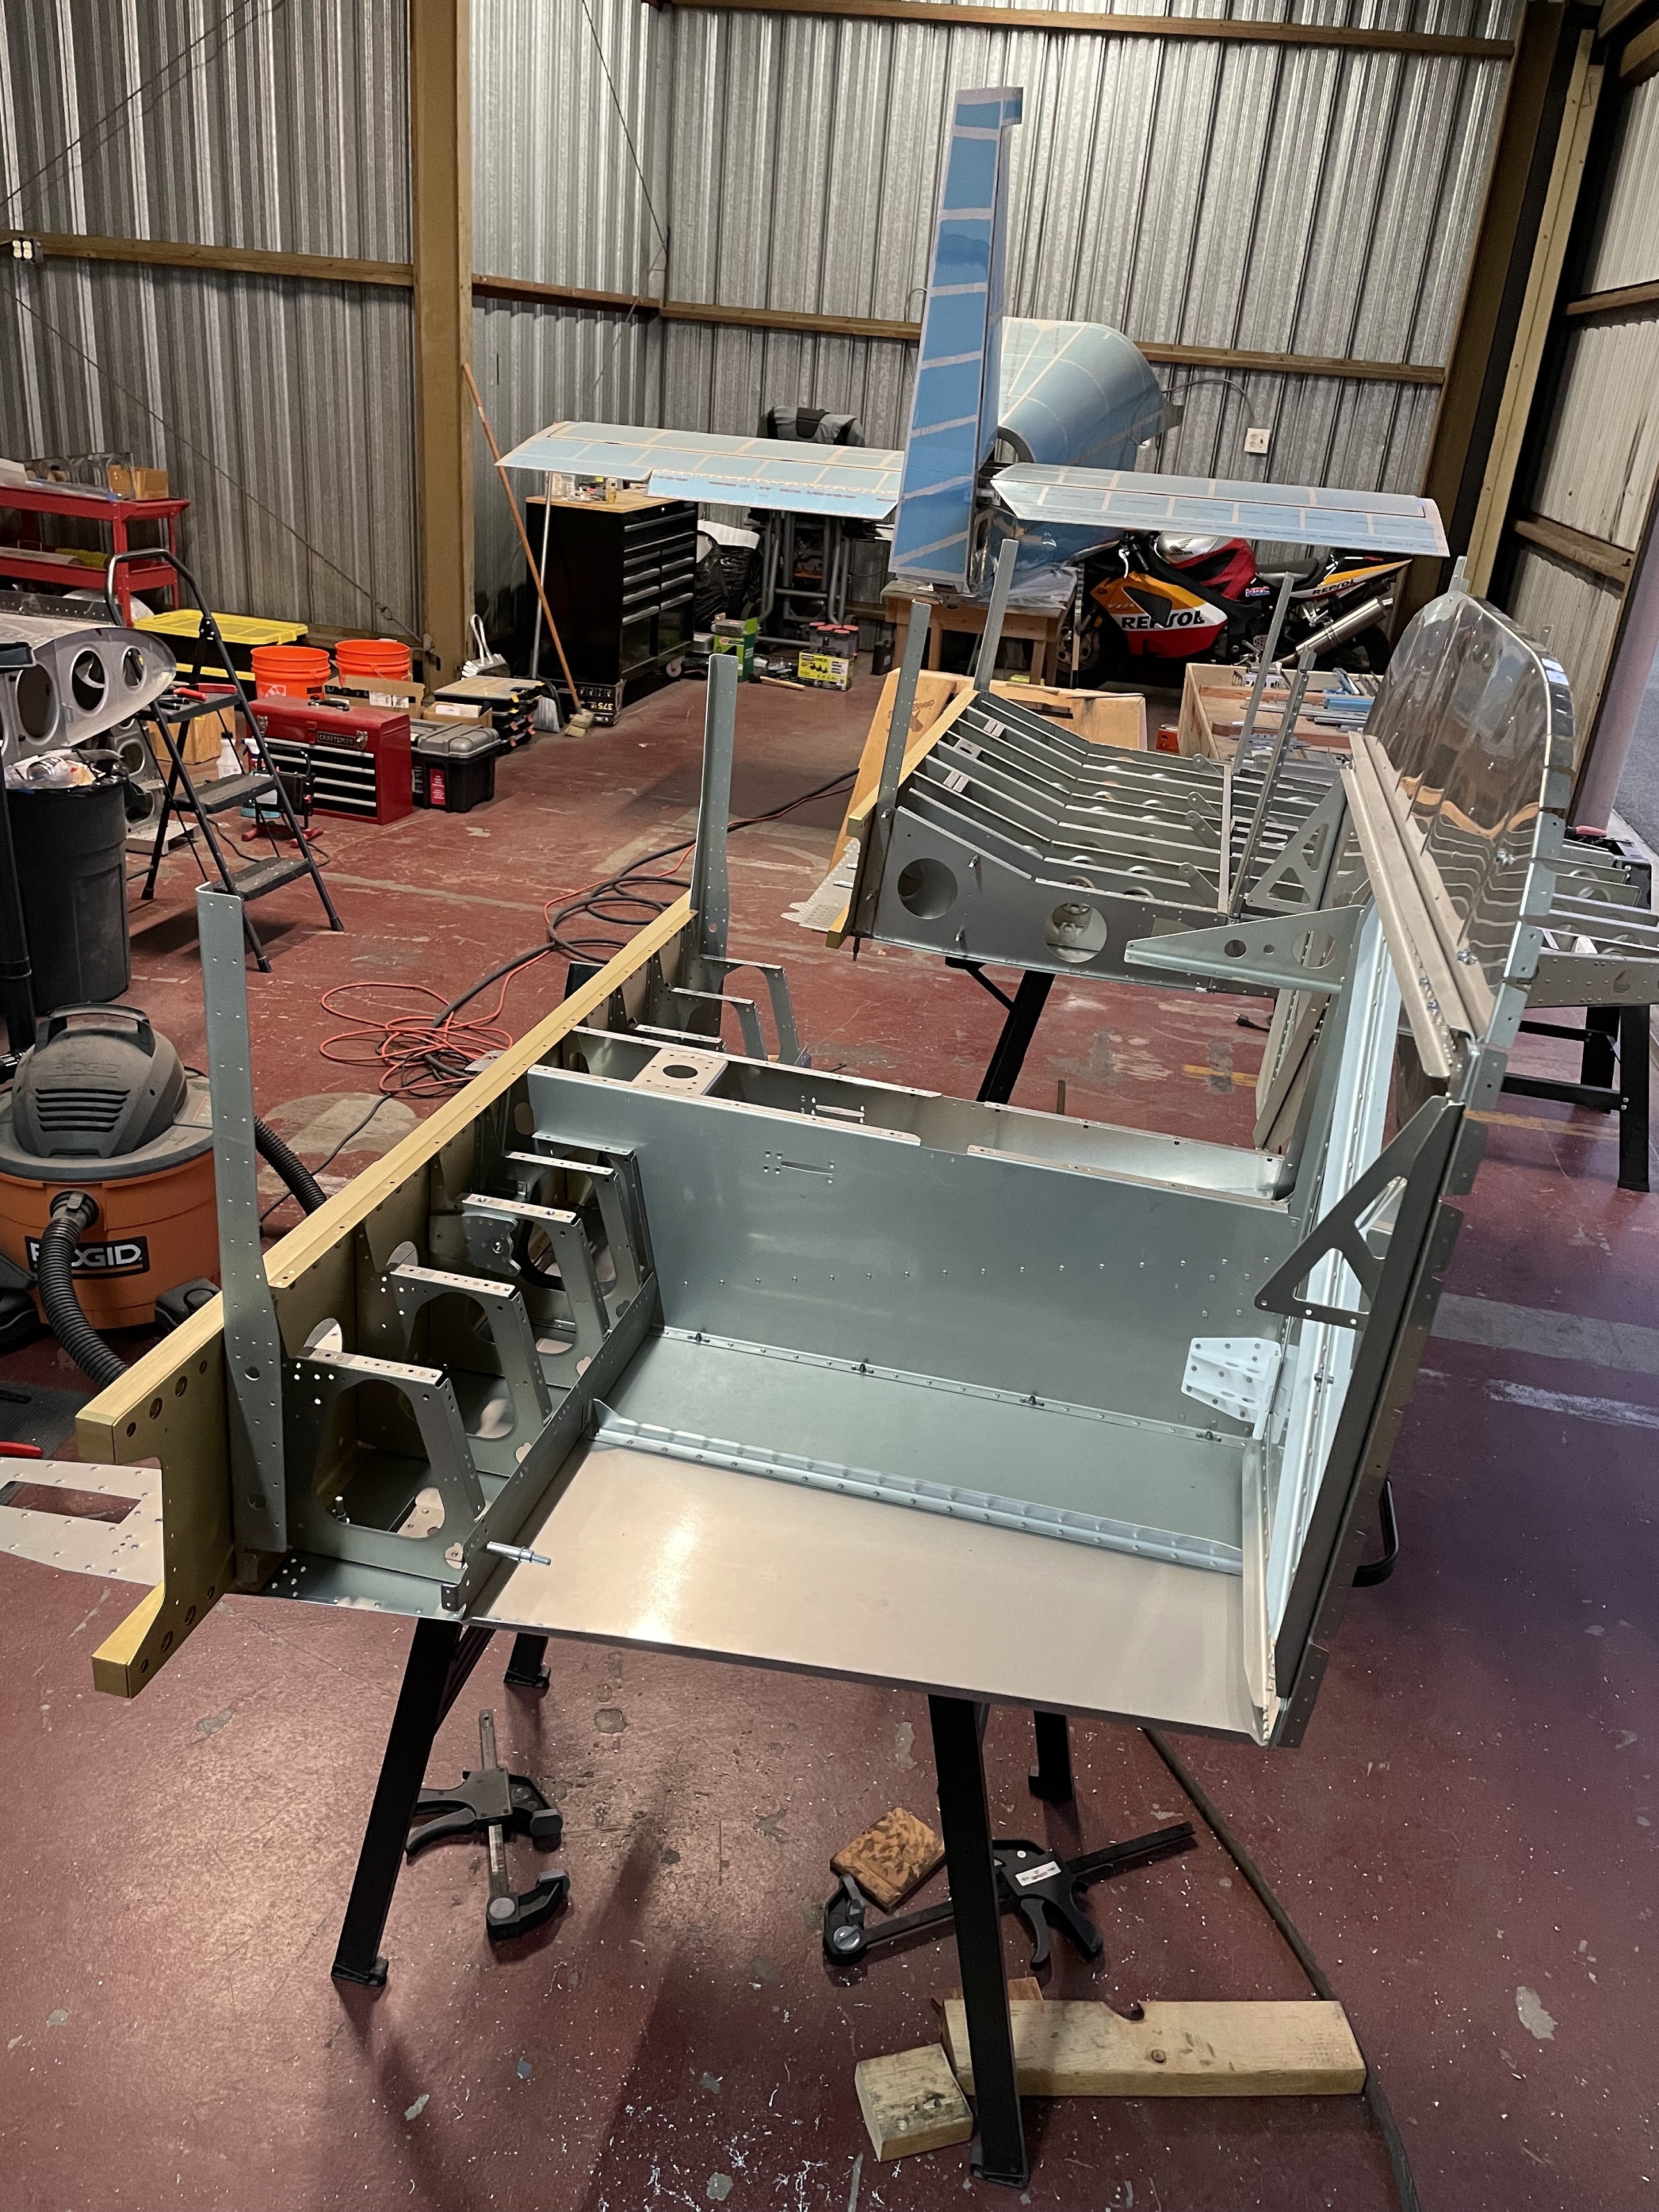
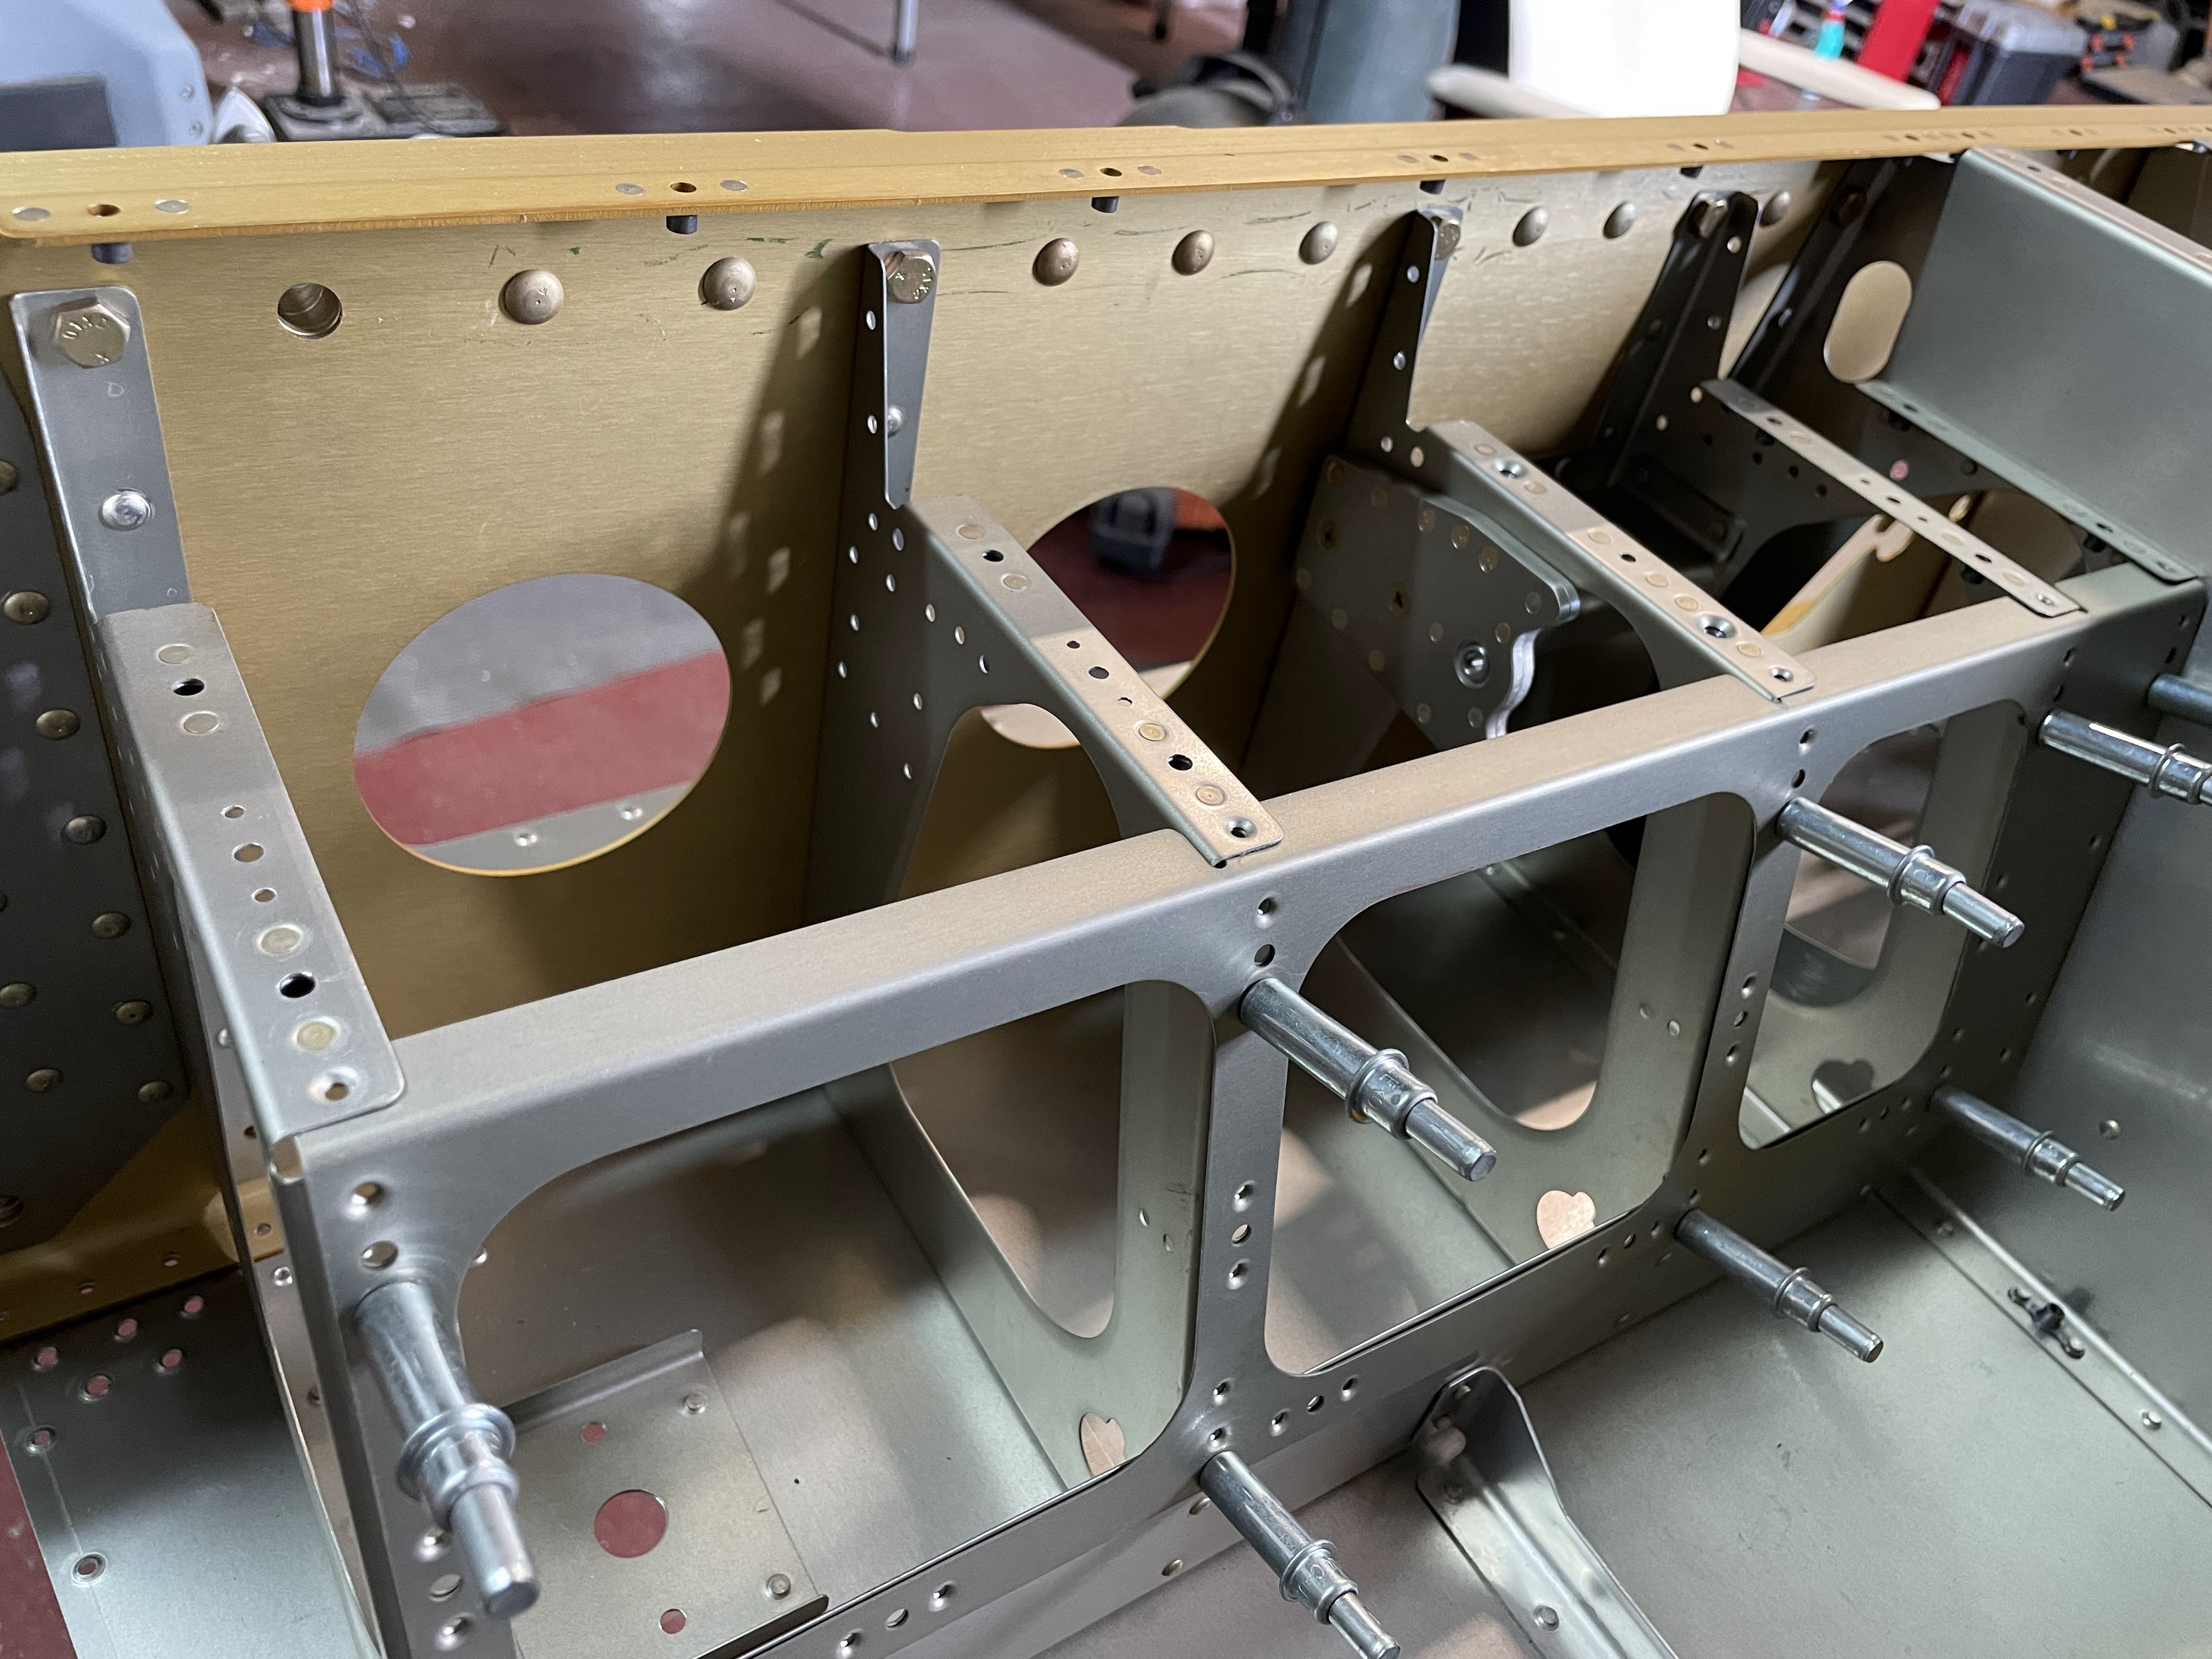
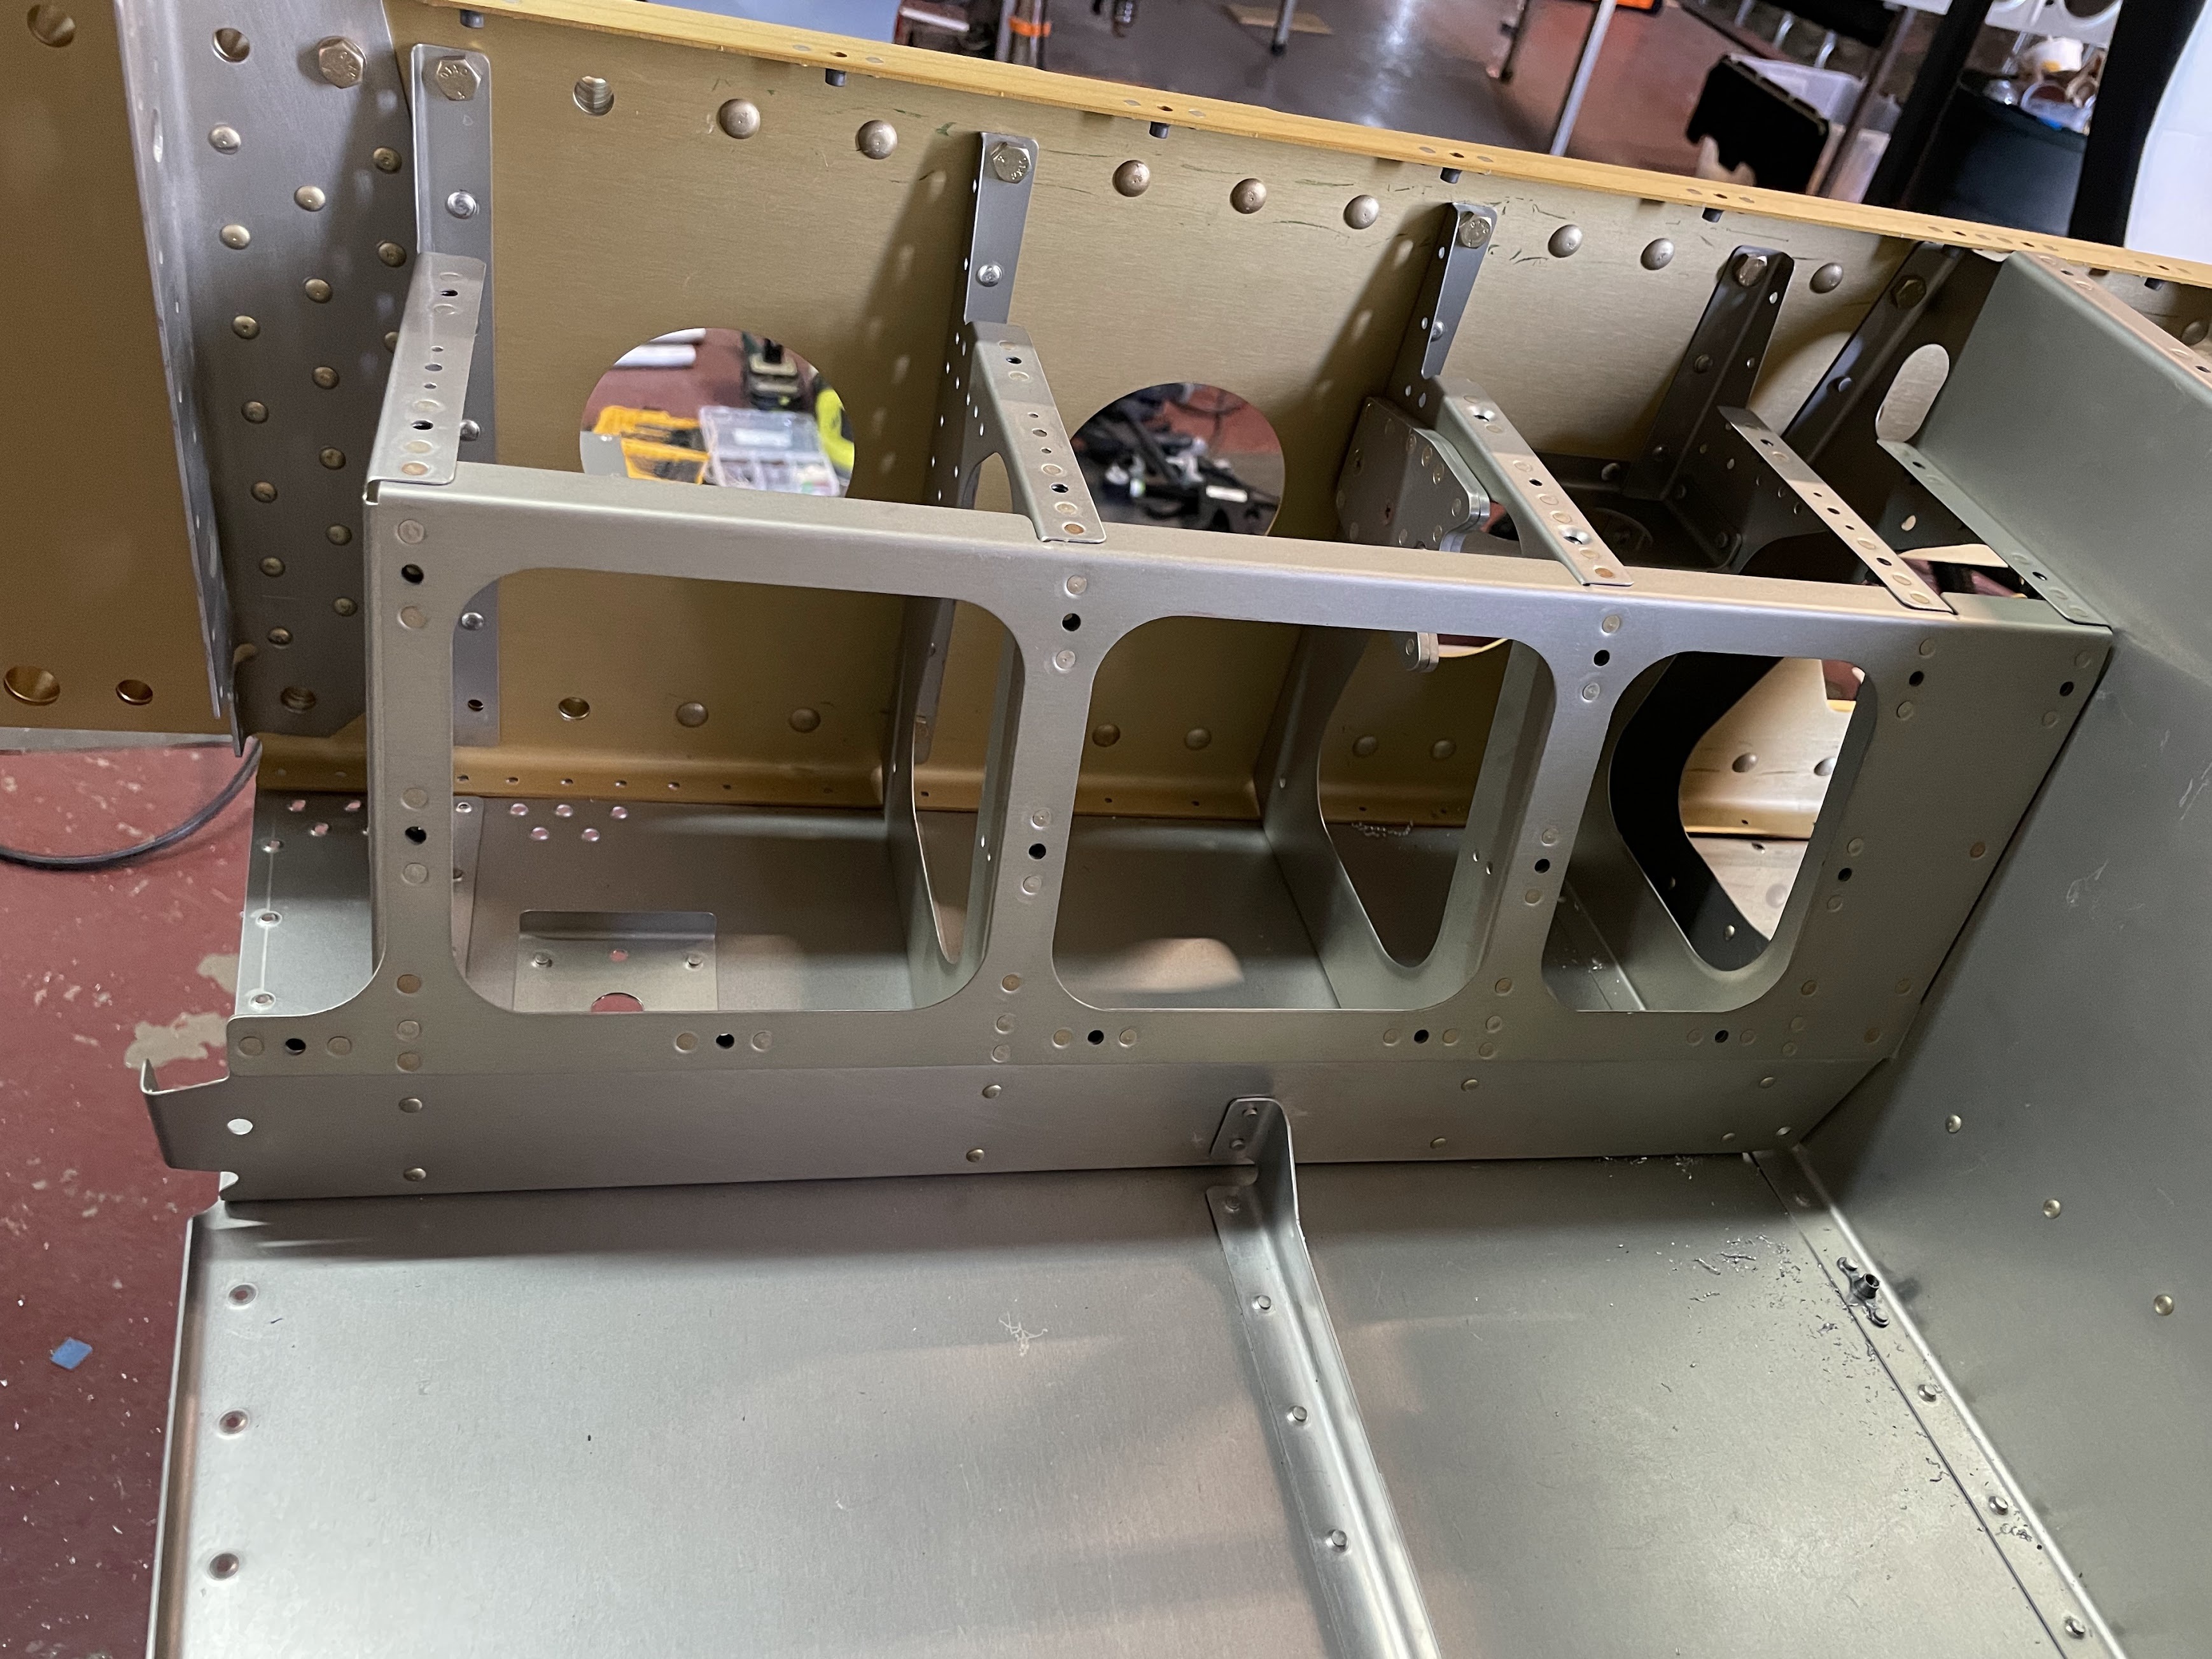
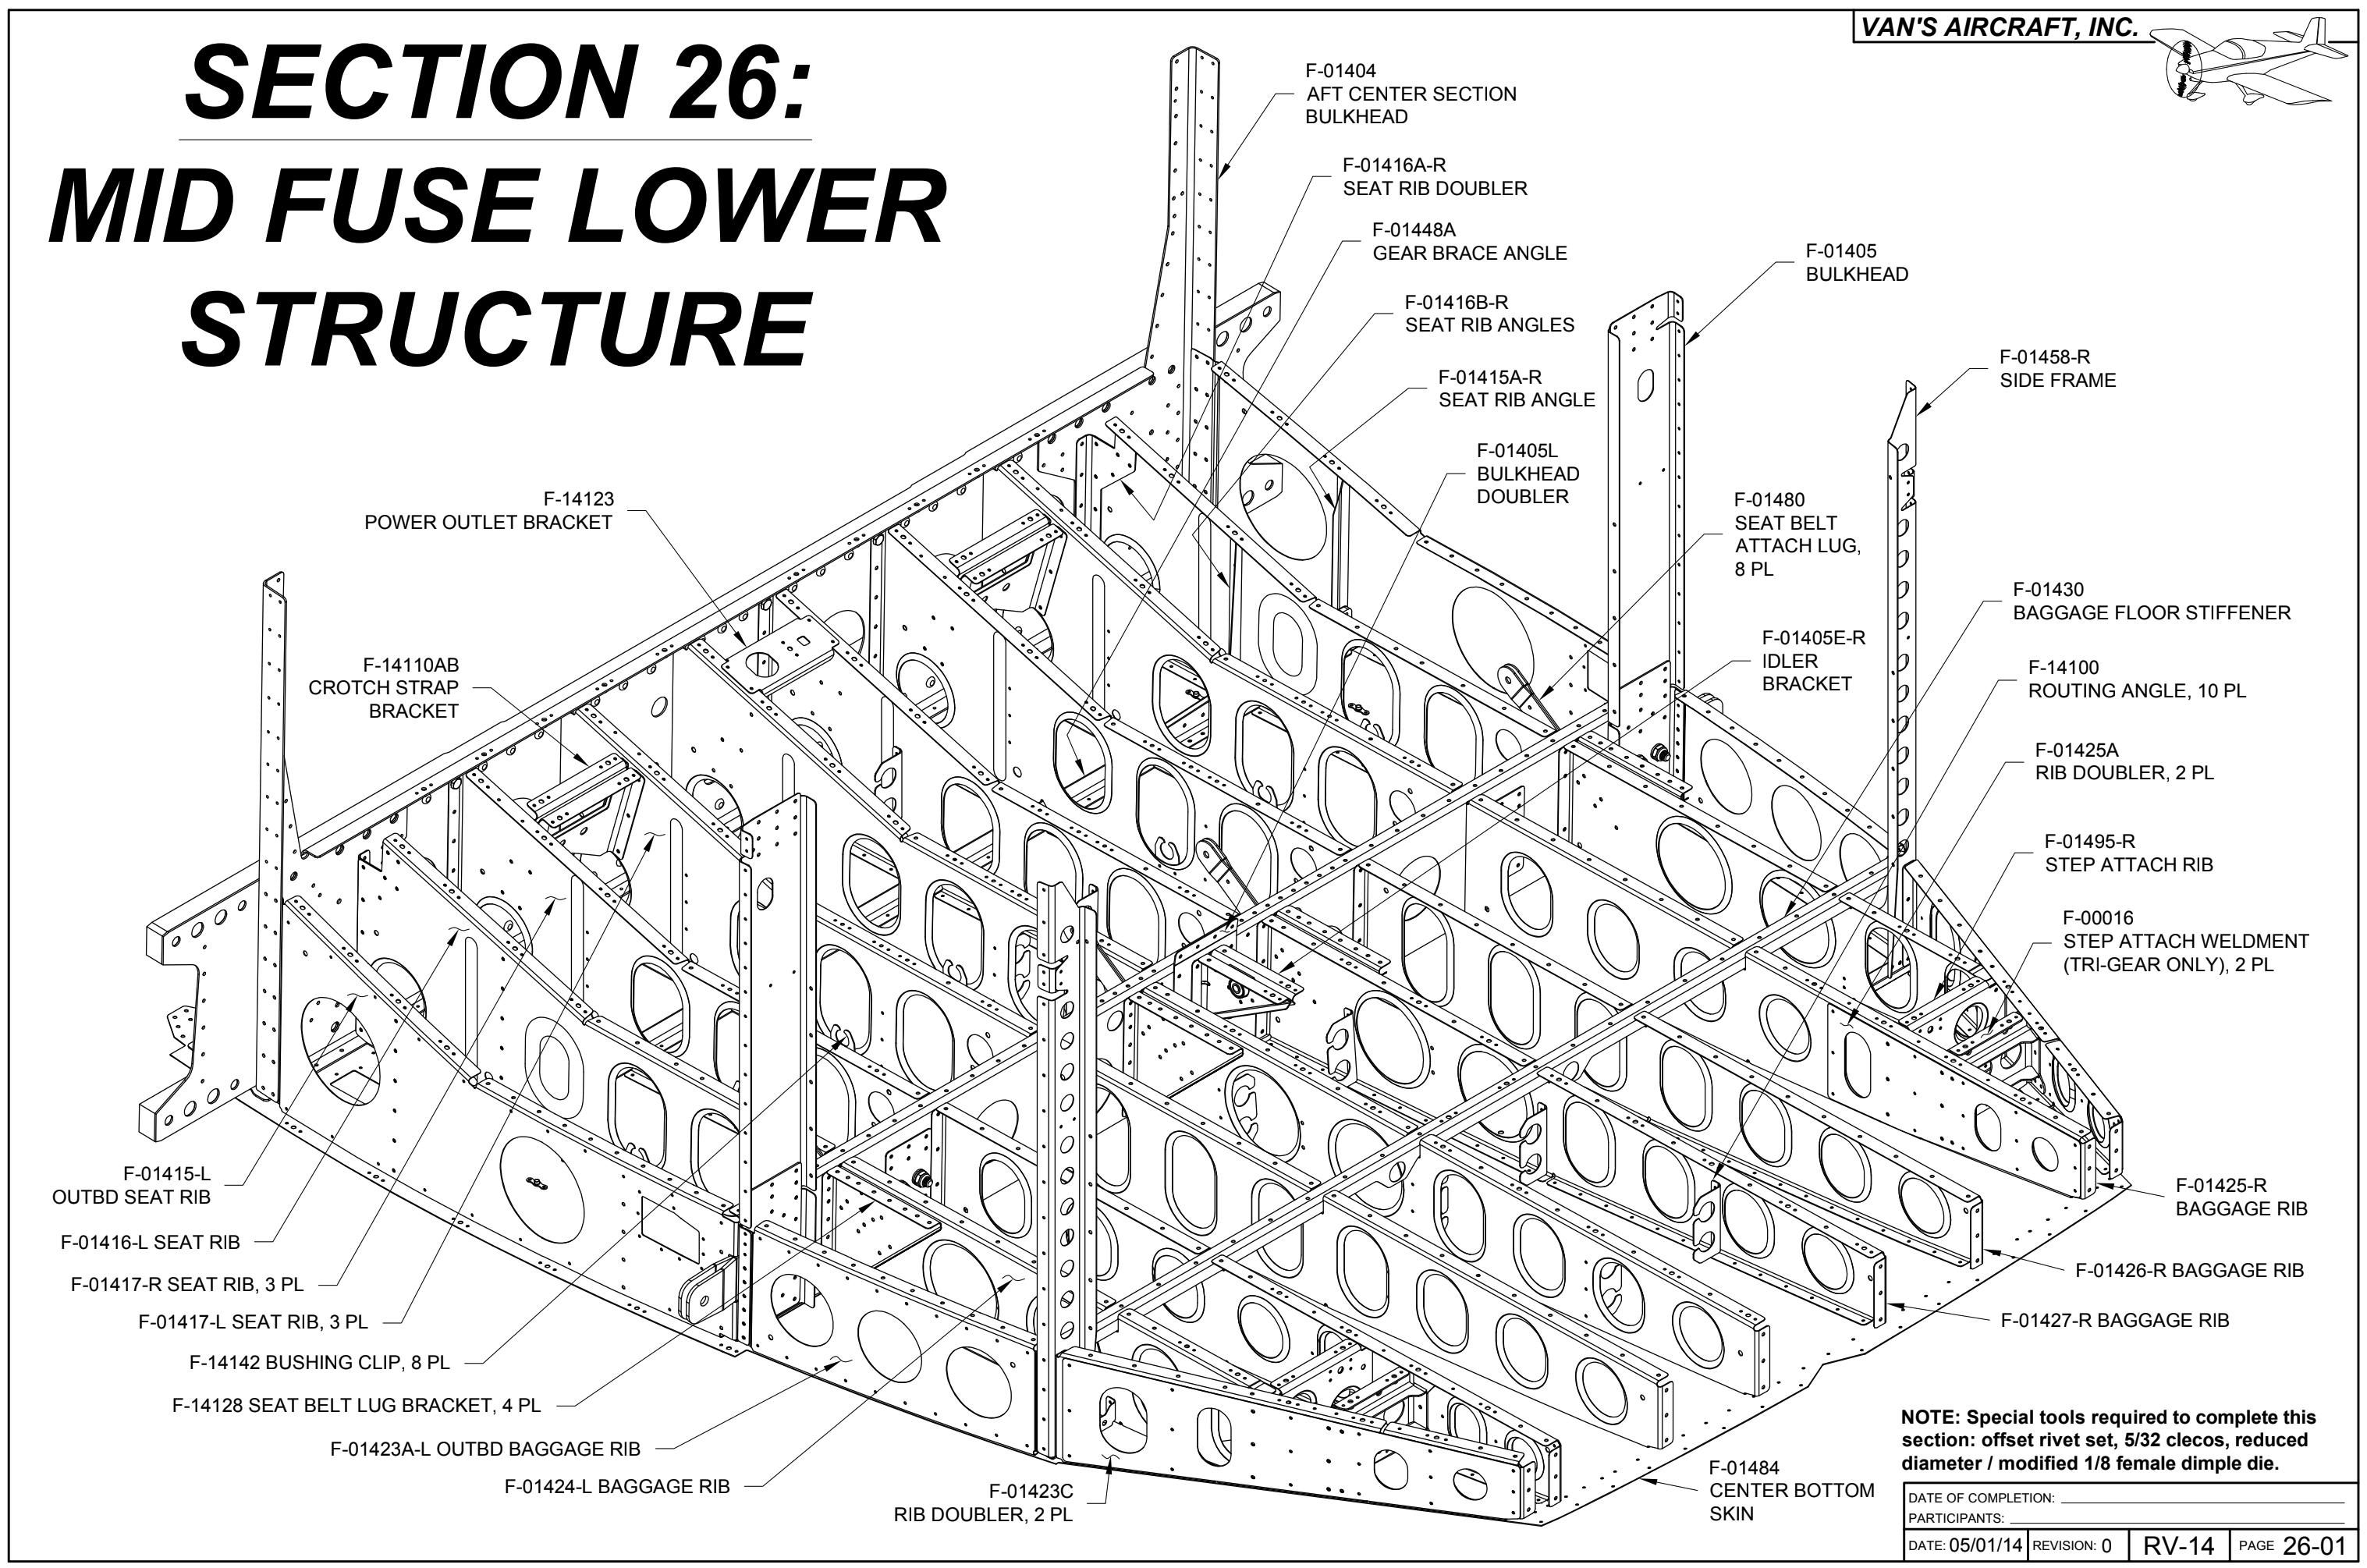
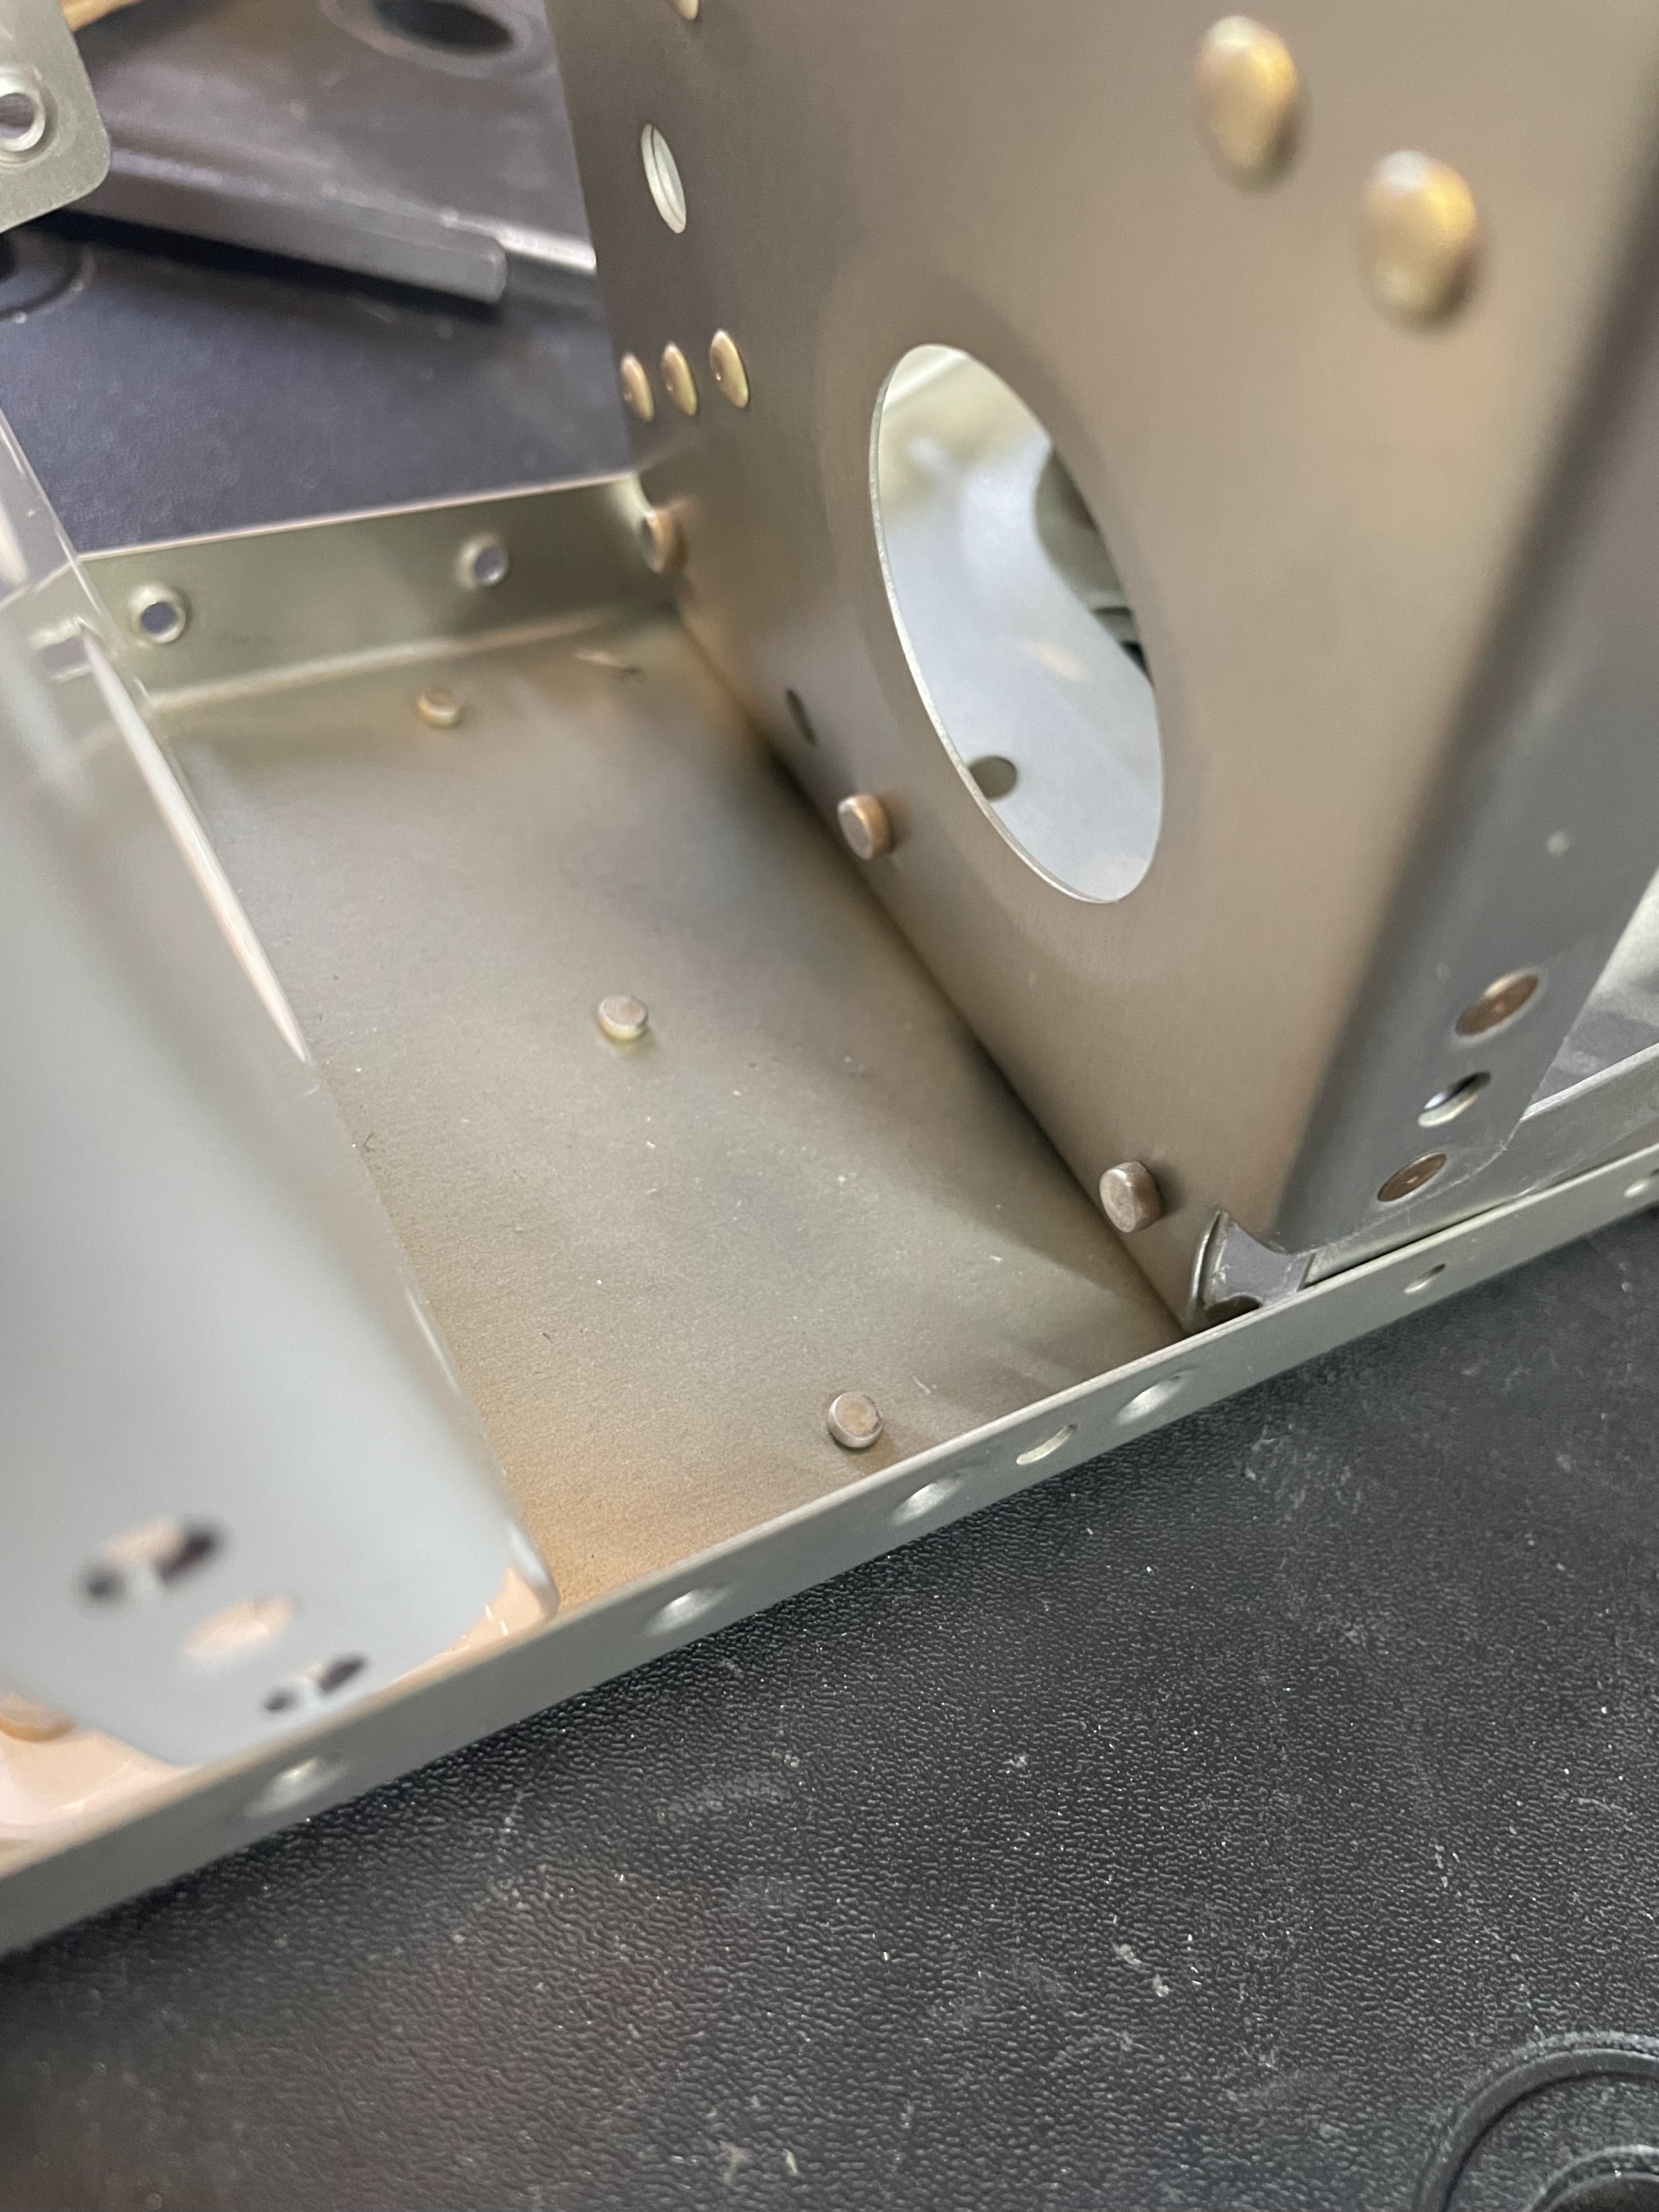
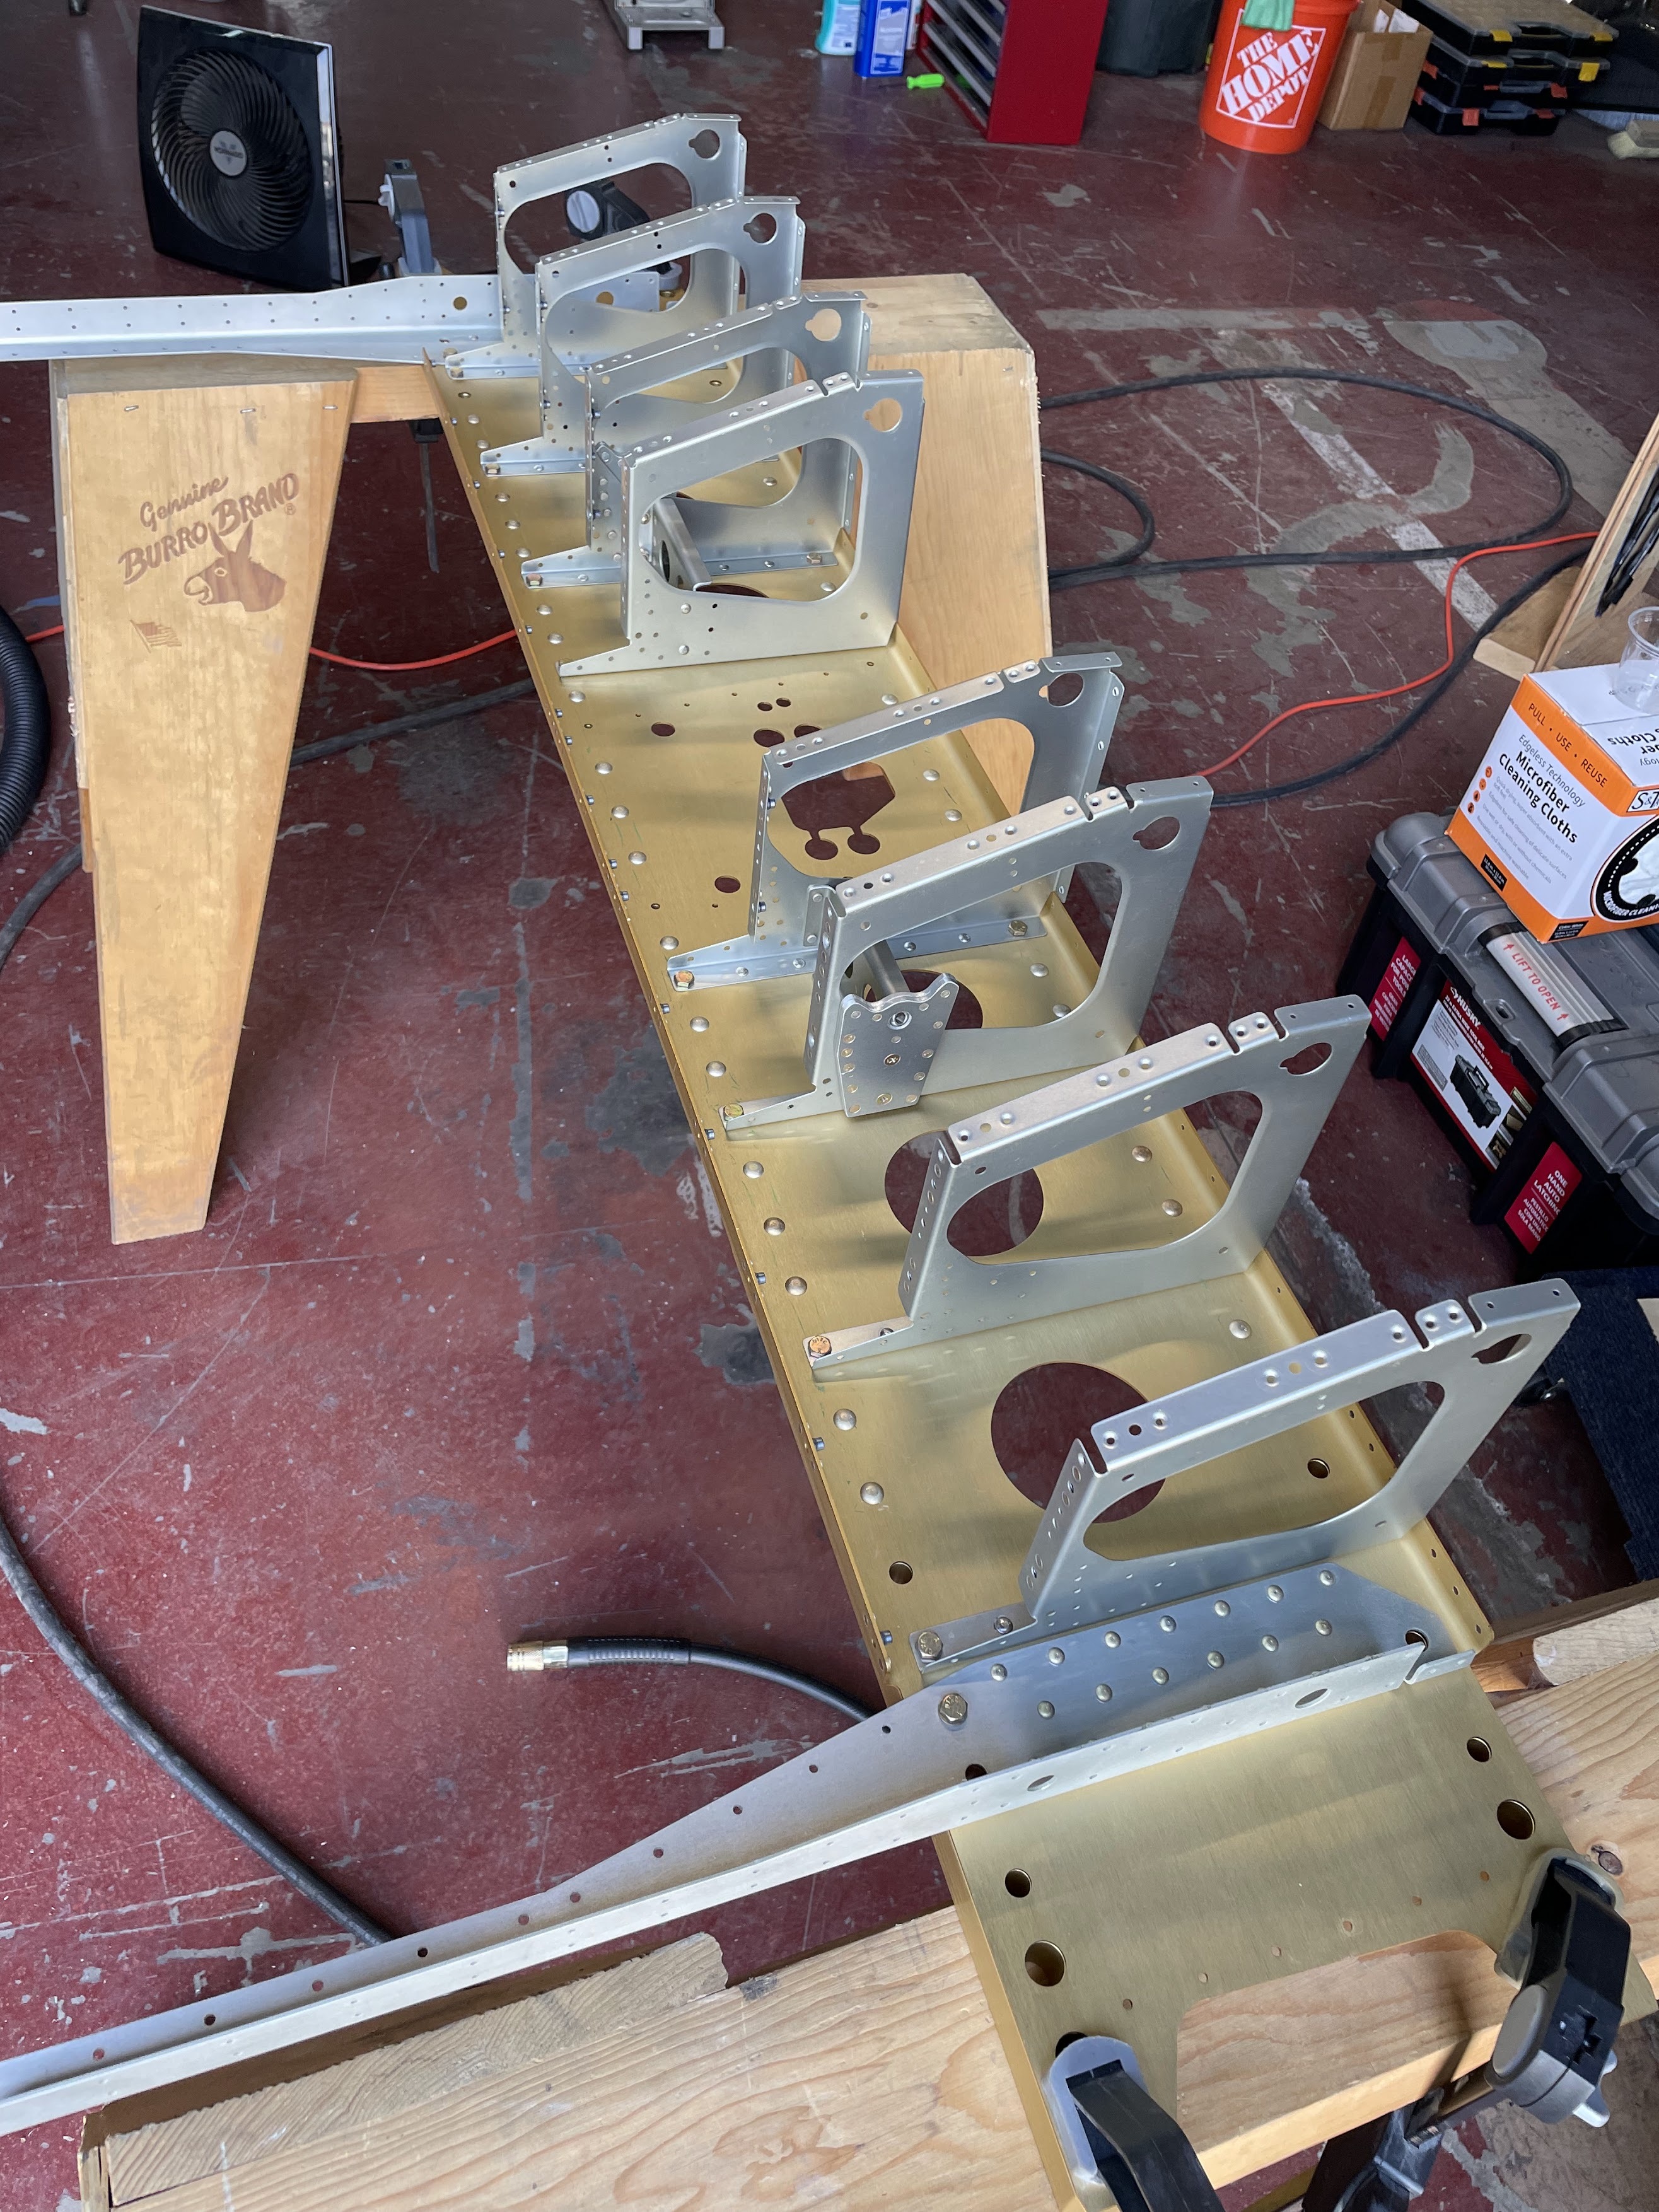
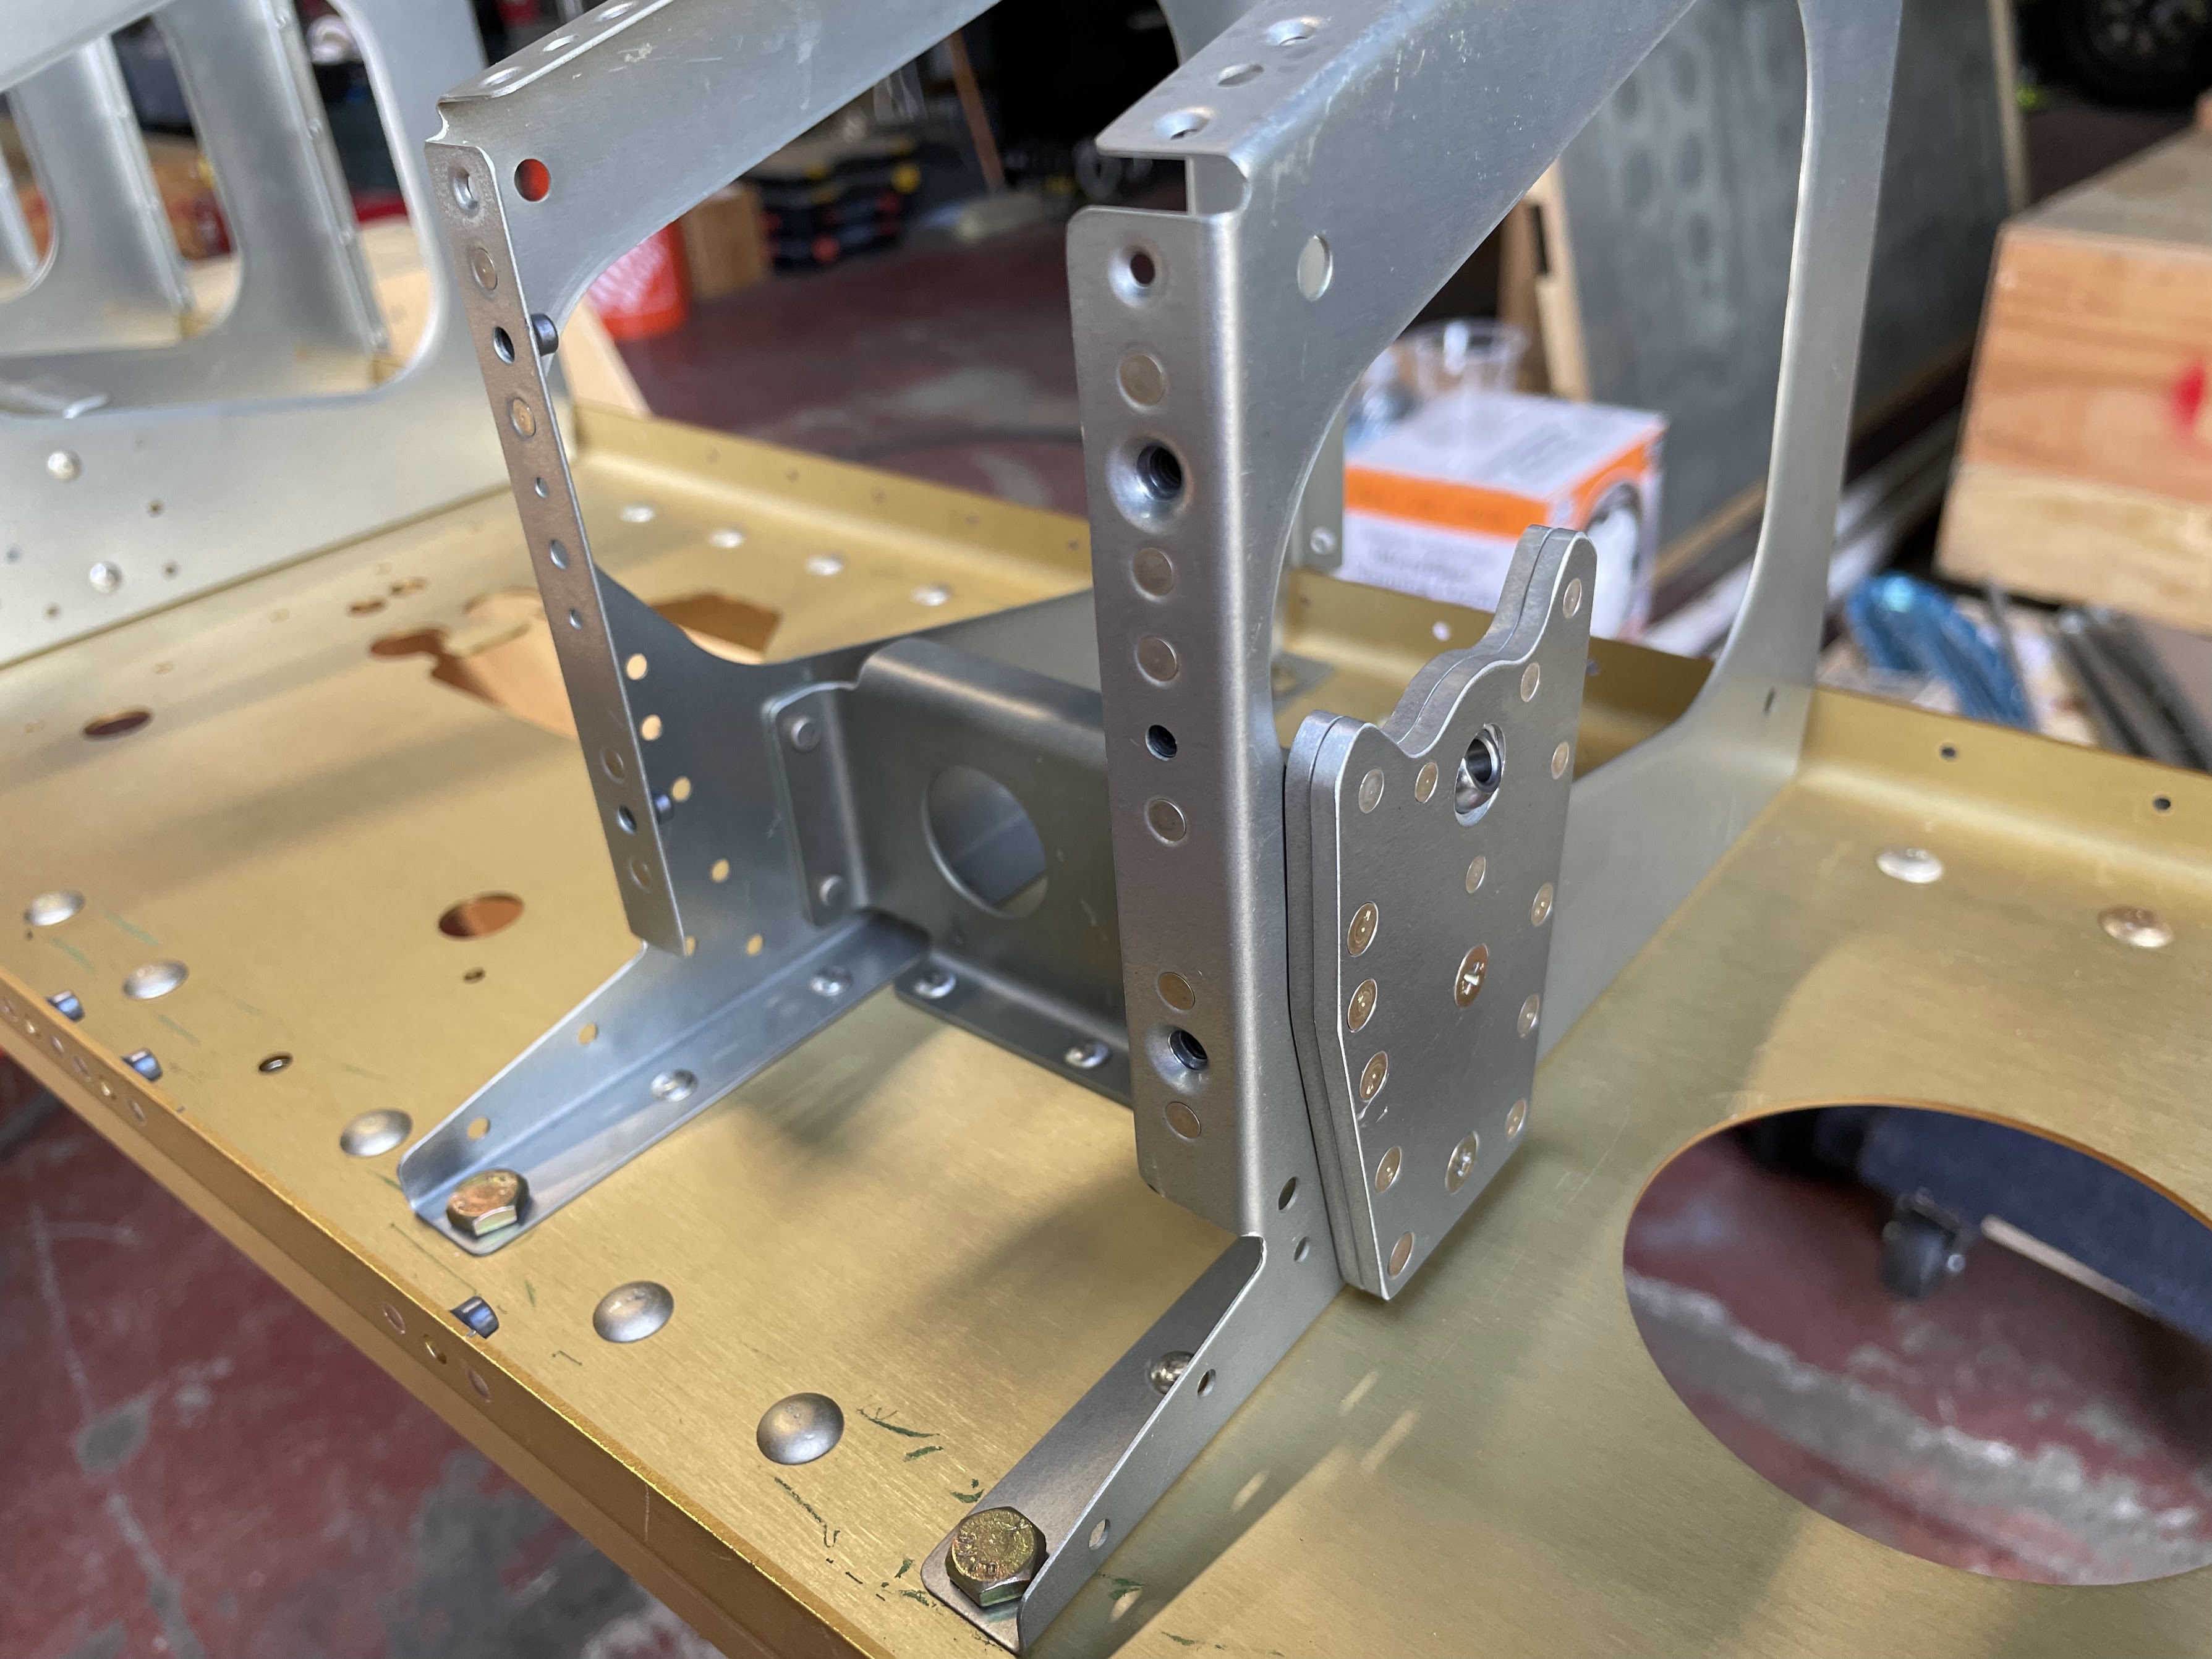
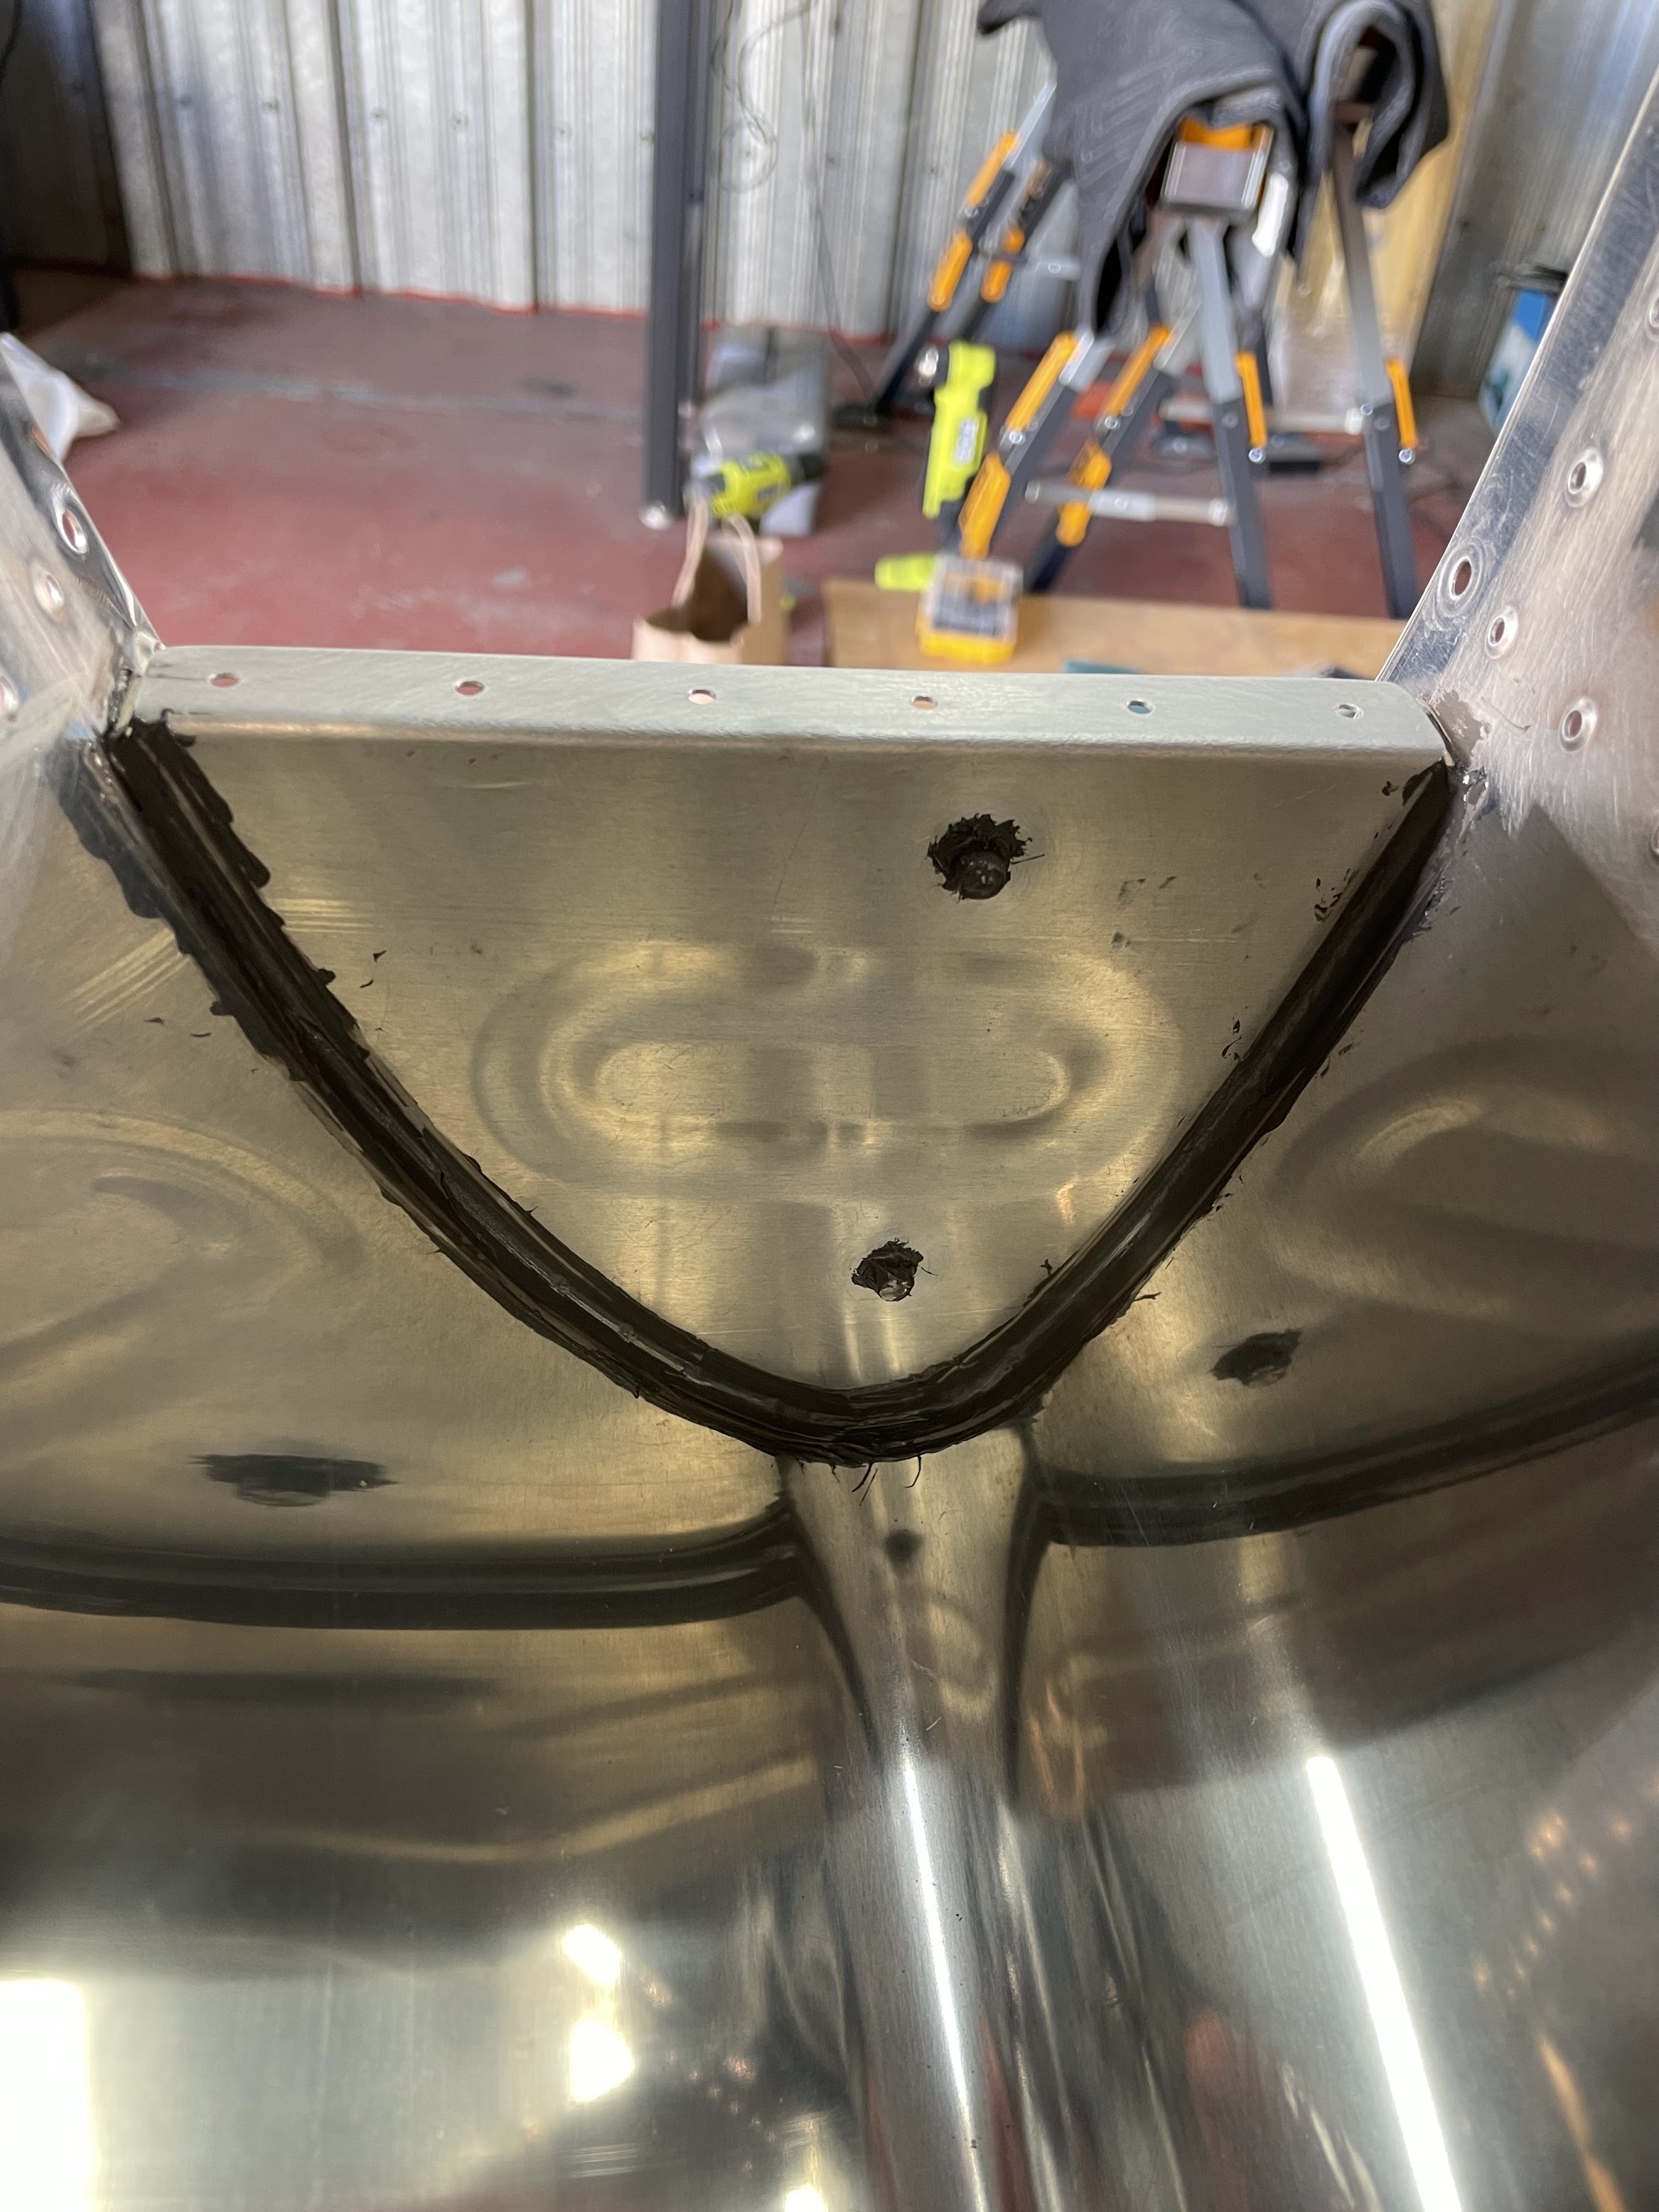
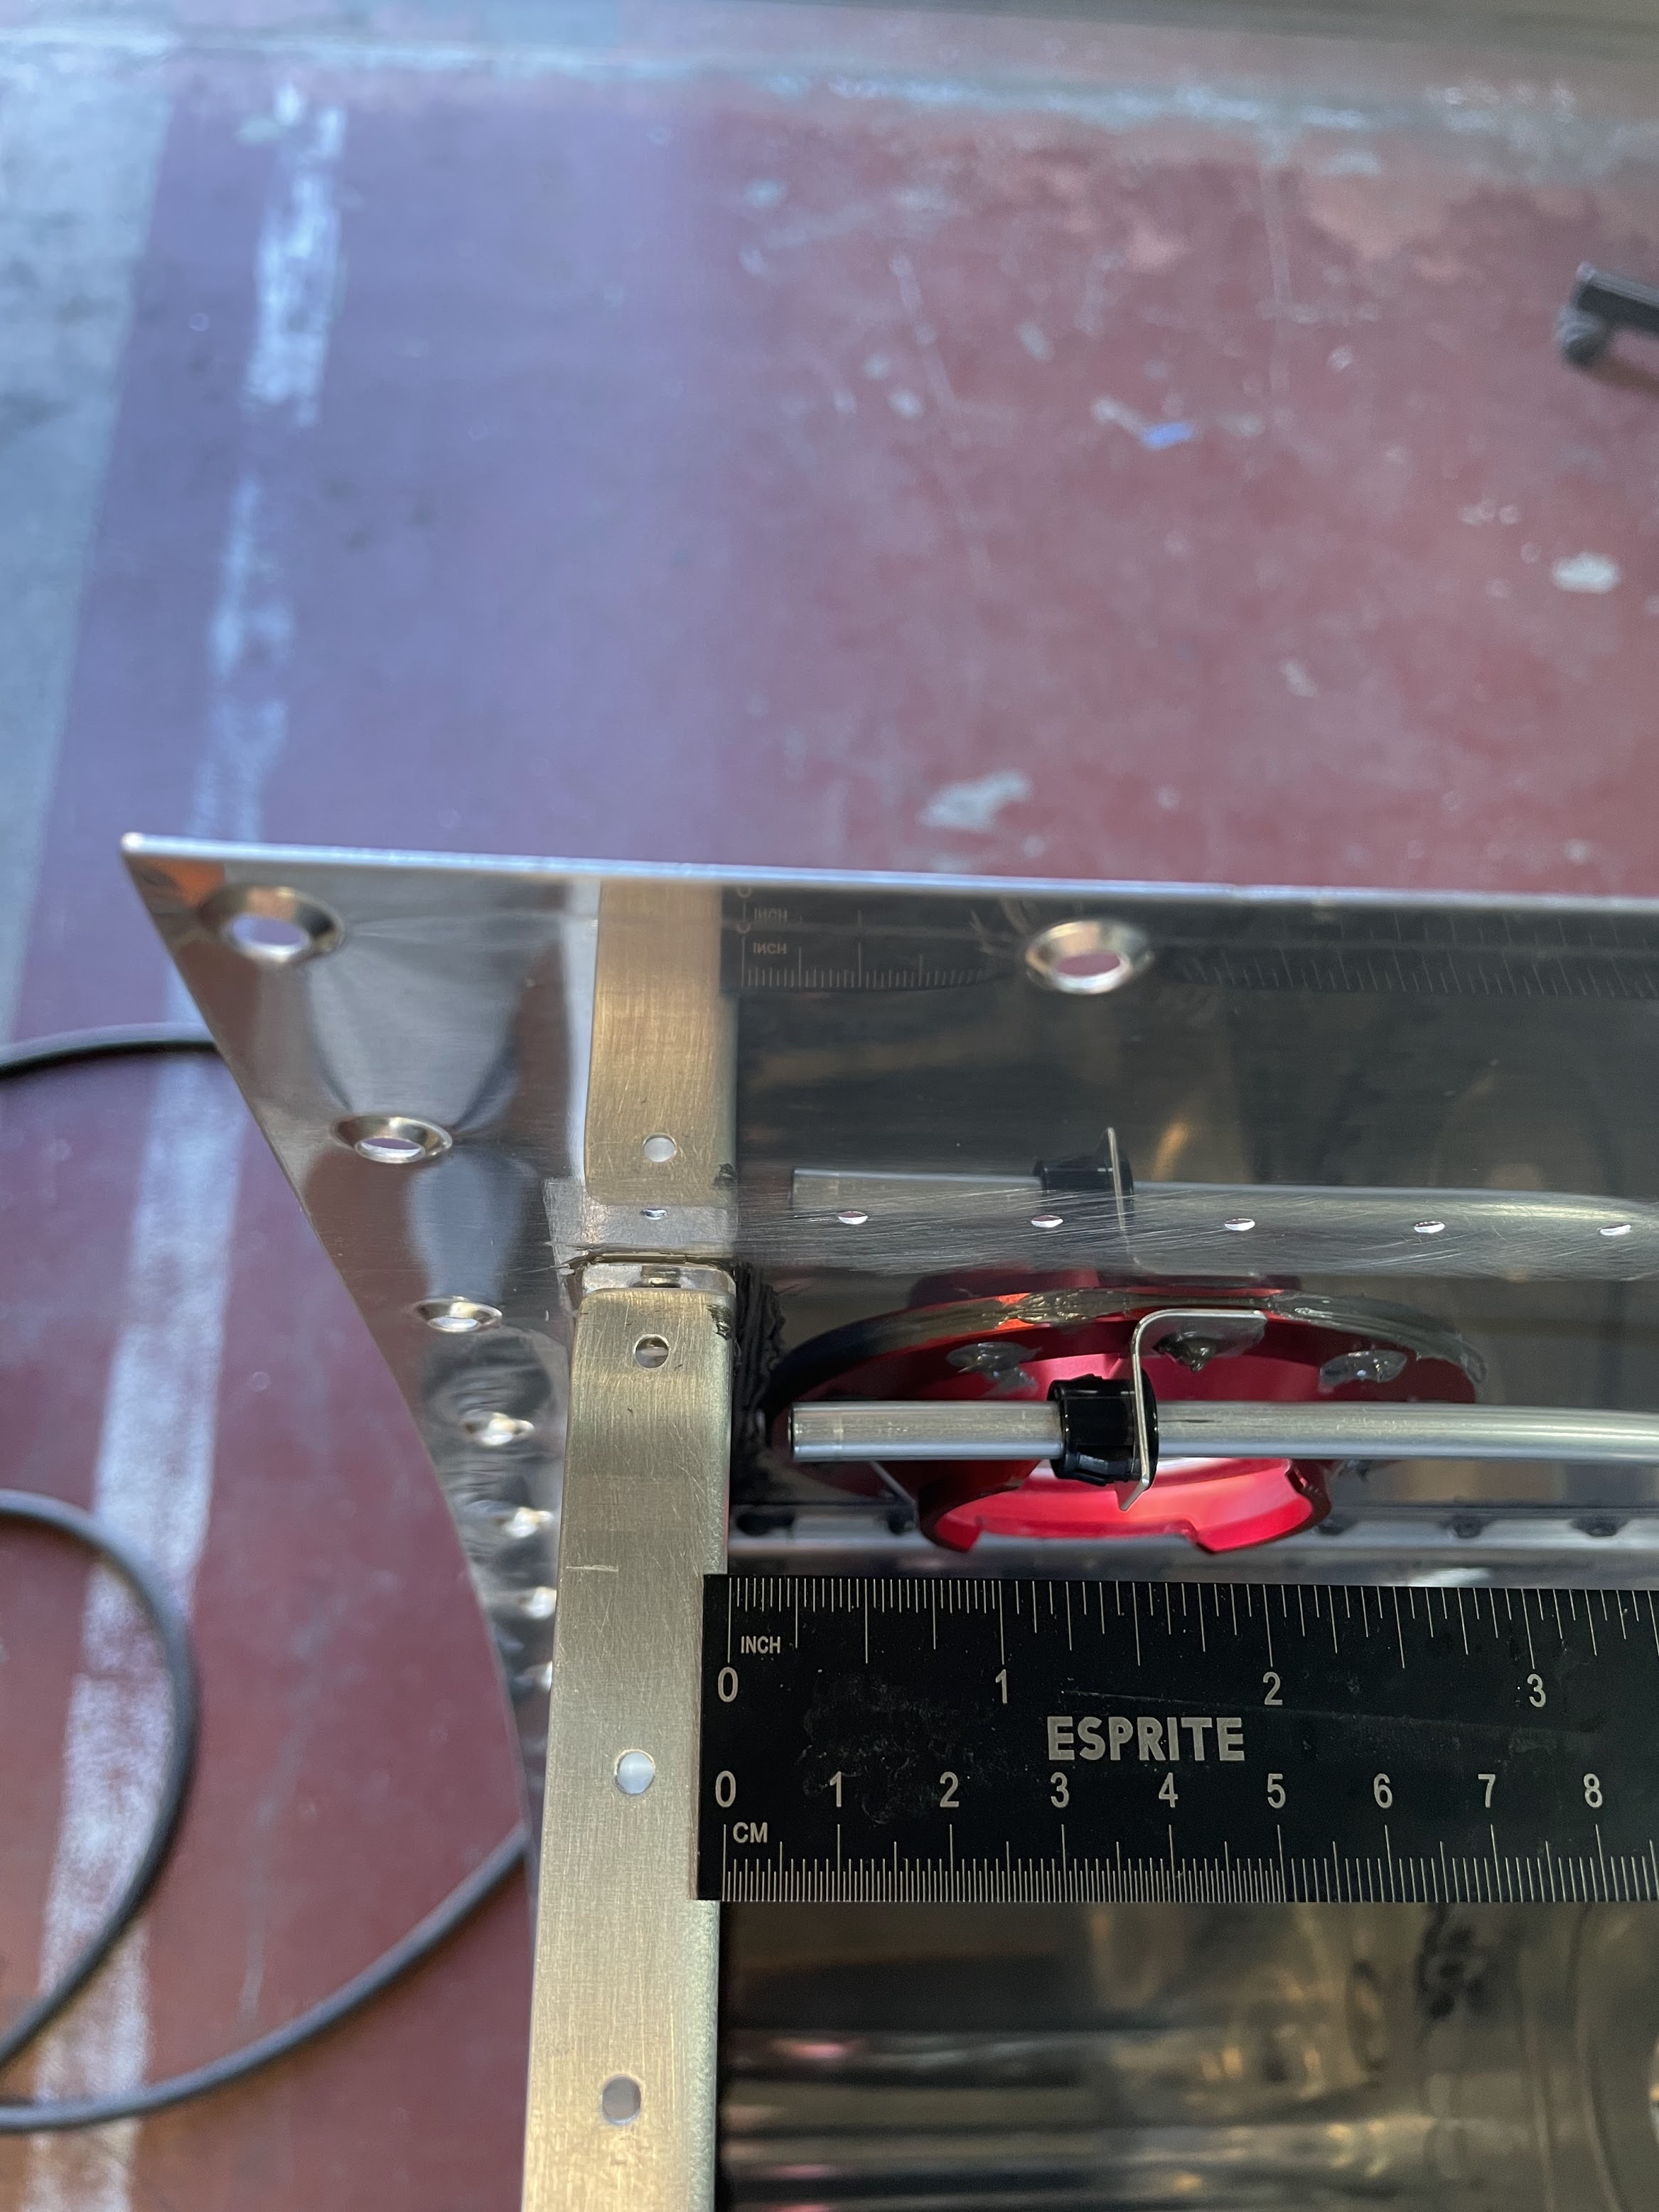
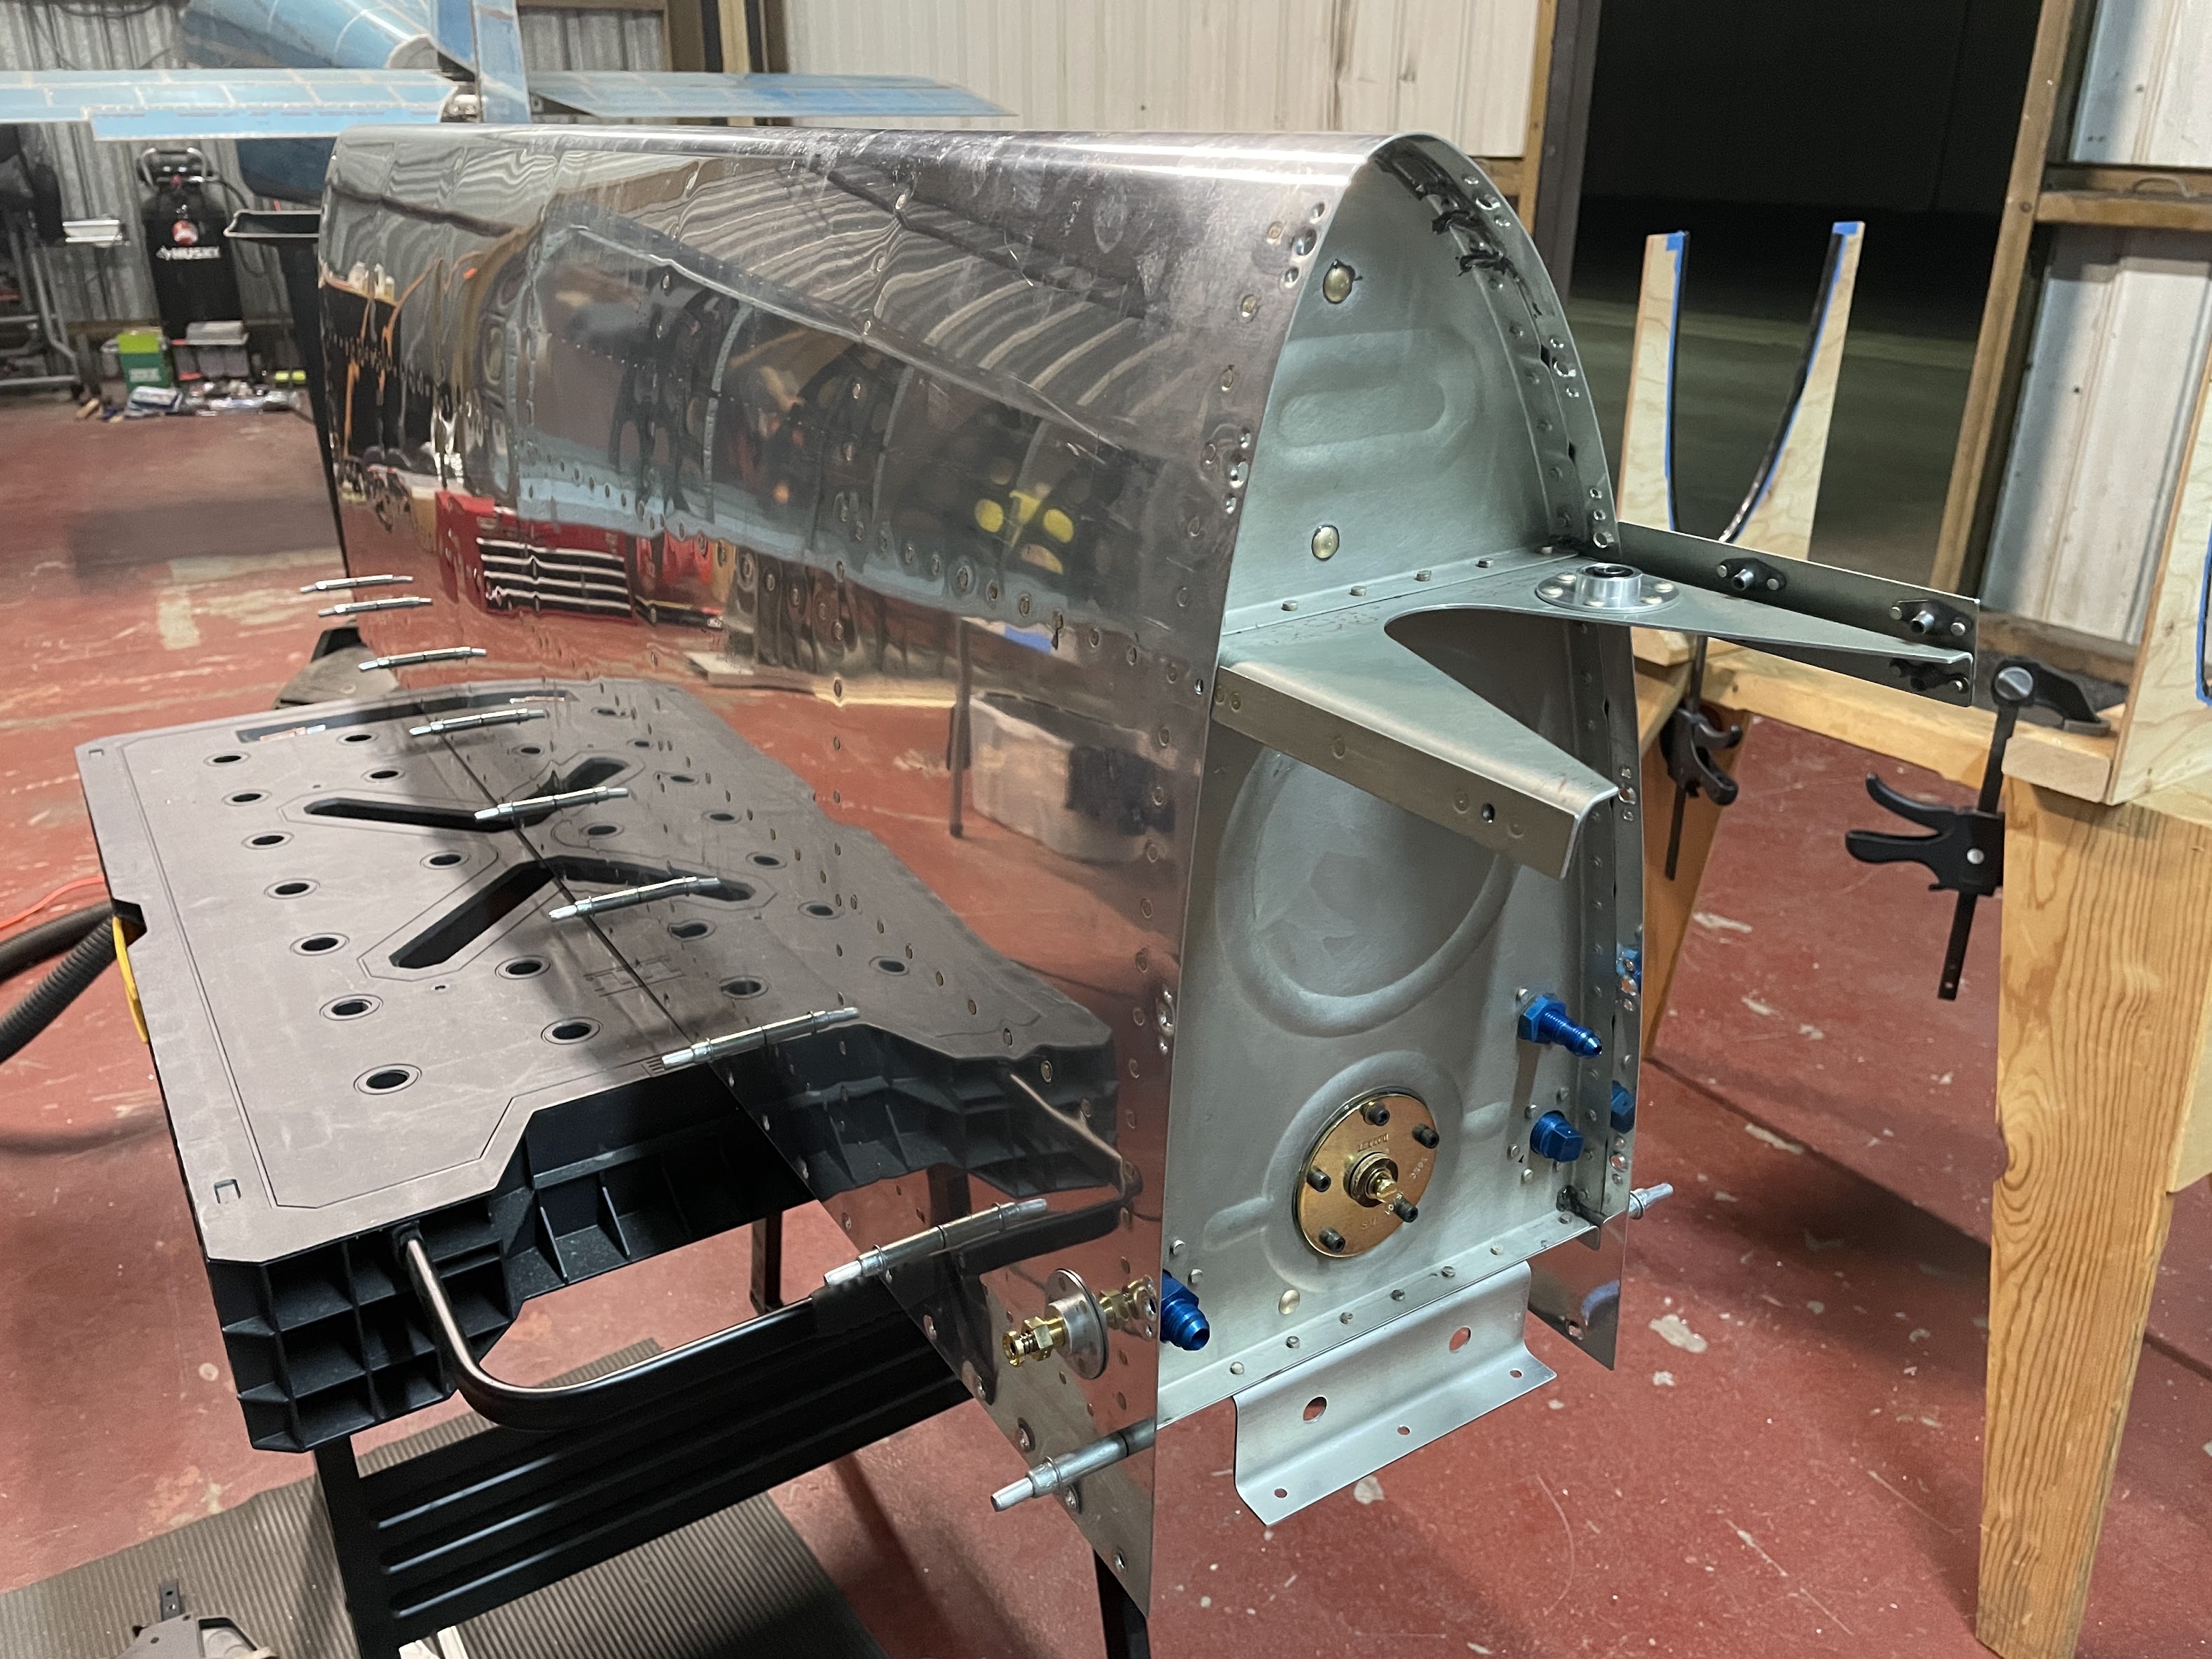
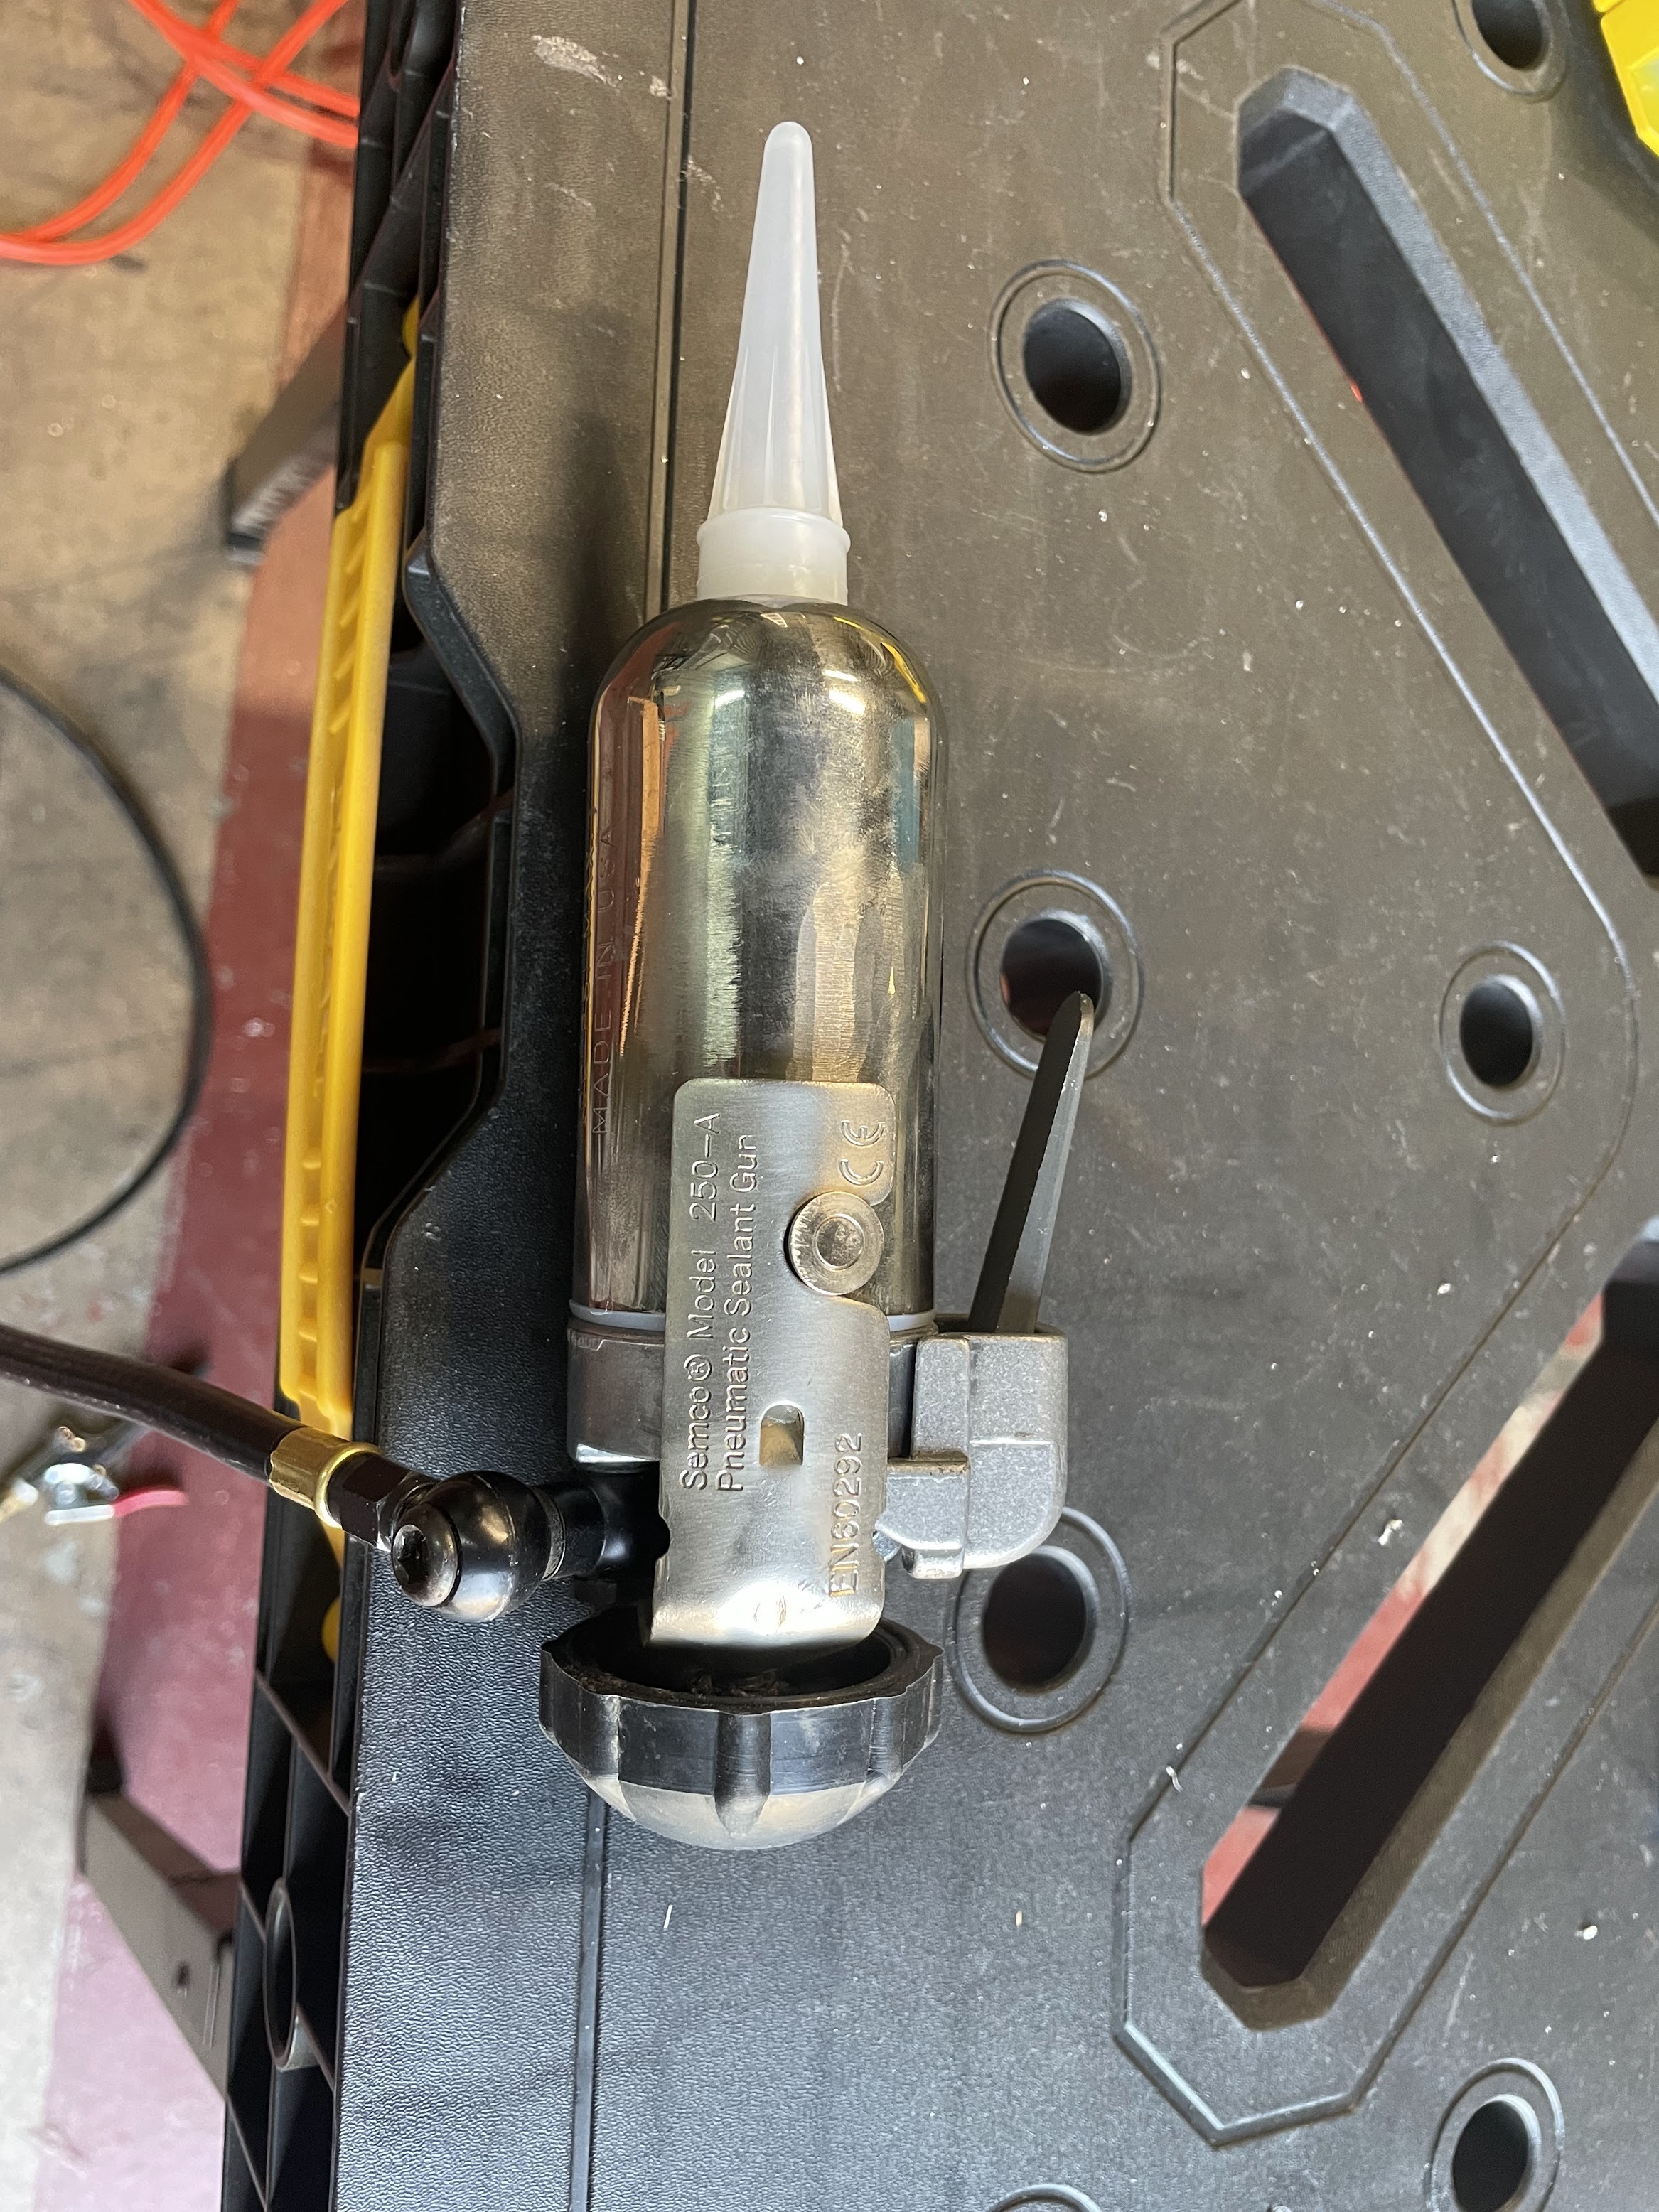
• Aileron leading edge assembly
    Aileron Section 22 Wing
    Sep 19, 2021

    The aileron leading edge assembly goes together pretty simply. The first minor issue I ran into was that the leading edge holes that are drilled into the stainless steel counterbalance only line up in one orientation of how the counterbalance bolts up to the leading edge A-1004-1 ribs. I somehow managed to flip the counterbalance around after I already match drilled one hole, and now I have an extra hole in the counterbalance unfortunately.

    The other item to note is that the stainless steel is pretty hard to cut through. I ended up using some tool oil when drilling, and still manage to toast at least one bit. The bits also tended to walk a lot, despite center punching the match-drill location. Fortunately, everything was final drilled to a considerably larger size, and any initially oval-shaped match-drilled holes did become true after final drilling.


    The last item of note was that the leading edge skin wanted to bend out a lot when placed on the cradle when assembling the forward portion of the aileron. I ended up having to tape it in several places in fear that it would crease itself given how extreme the bend was.


  • Aileron prep
    Aileron Section 22 Wing
    Sep 19, 2021

    Started with cutting all the stiffeners out, collecting all the parts, and getting everything primed. I find priming such a hassle between part prep/scuff/clean, setting up the spray area, getting the HVLP gun set up, getting primer poured and mixed, and resulting cleanup, that I try to do as much at once as I can. This time I think I got everything without missing a part. It's always super annoying to have some tiny component at the end that I forgot to prime. Makes me wish I used the rattle can zinc chromate sometimes instead of the P60G2 just for the convenience. For those using epoxy primers, it seems even a larger hassle.

    Right off the bat, I managed to over-countersink the inboard hinge brackets. I love the single-flute countersink cutters in that they produce a really clean cut, but they bite so much into the material if you don't set the countersink cage to a shorter depth than you need it's pretty easy to have it pull way too far into the material. I thought for a moment that I could just rivet and move on, but it was inset deep enough that I didn't feel comfortable with it, and ordered a new part from Vans. They were super fast, however, and got me the replacement in a week.


  • Final flap assembly
    Flap Section 21 Wing
    May 10, 2021

    Getting the trailing edges cut and trimmed to butt together perfectly took a little bit of time using hand tools, but pretty happy with the result.

    Much of the flap assembly required to cleco the entire assembly together to final drill, then disassemble for cleanup. I ended up 3D printing a spacer for the hinge brackets to avoid putting in appropriate washers during assembly.

    I used the squeezer to double-flush rivet the hinge brackets. They didn't come out quite as pretty as I was hoping, but look pretty flush in the end.

    For the final riveting of the trailing edge, the instructions didn't provide much information on. I ended up back riveting all the trailing edge rivets, which worked quite well. The only trick was to initially drive the rivets along the axis of the rivet, then finally setting them parallel to the trailing edge.

    The final flap turned out pretty square along both the hinge and the trailing edge.


  • Flap tool fabrication
    Flap Section 21 Wing
    May 10, 2021

    In the flap plans, there are a few callouts to fabricate tools and jigs to countersink and drill the trailing edge at a precise angle. While outright precision probably isn't necessary here, I decided to hop on the CAD and 3D print all these parts instead of fabricating them out of aluminum.

    One challenge was machine countersinking the trailing edges. I noticed that Cleveland Aircraft Tools sold a jig to hold the trailing edge at the right angle to use a countersink cage with. $42 seemed like a lot for such a simple part, and I decided to draw one up and 3D print it also, which worked great.


  • Flap prep
    Flap Section 21 Wing
    May 10, 2021

    While the flaps seemed fairly straight forward, there were a few new and interesting tidbits in the plans that haven't come up in previous parts. First was the use of duck-bill pliers to eliminate "pucker" in the ribs. I didn't actually own any duck-bill pliers by that name, but had a small pair of flat (non-grooved) surface pliers that I put some tape over to not damage the aluminum and straightened out the bend as best I could. It was pretty subtle to start with, but it came out slightly more flush so I suppose mission accomplished.

    And "pucker removed"!

    Next were the inboard leading edges that required doublers and a large nutplate. Pics still need to be deburred, but everything went together nicely.